Tutorial: sacchetti per noccioli di ciliegia, e non solo… Ne avevo già parlato qui…
ora un tutorial per principianti, come al solito anche troppo dettagliato.
Il “problema” dei sacchetti di noccioli di ciliegia è che riscaldando il cuscino si può danneggiare il tessuto. Per questo preferisco prepararli con la federa estraibile.
Altro problema è l’utilizzo per chi non ha il forno a microonde, per questo oltre alla versione con sacchetto interno chiuso, ne ho preparata un’altra che permette di estrarre i noccioli per riscaldarli in padella, forno tradizionale o stufa. Altro vantaggio è la maggior facilità di lavaggio.
Sacchetto interno chiuso
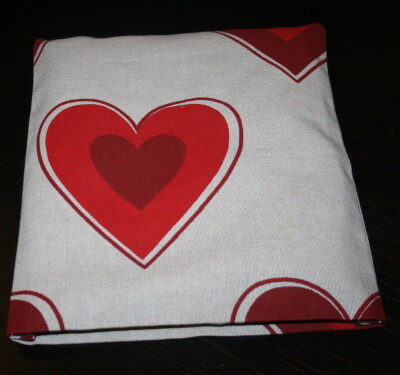
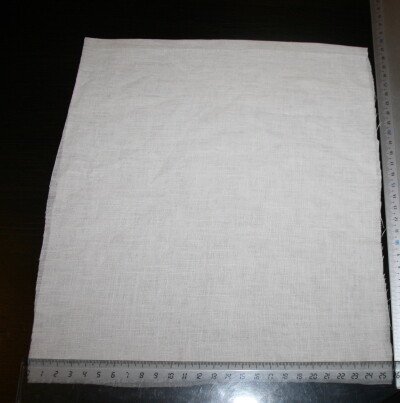
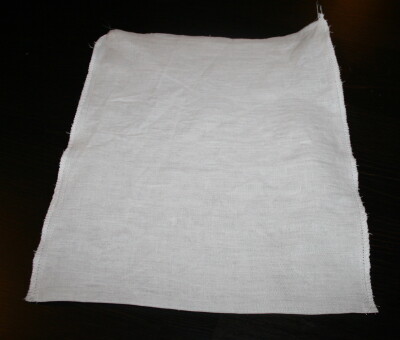
Tagliate a doppio un pezzo di stoffa (io ho scelto il lino) nelle misure 26x30cm,
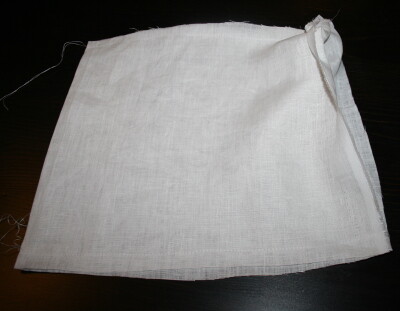
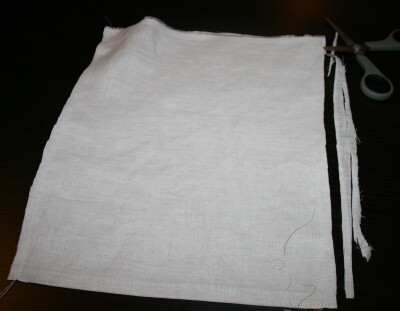
cucite con un punto dritto e stretto lasciando un lato corto aperto, poi rifilate i bordi con le forbici a circa 0,5cm dalla cucitura e fate una cucitura a punto zigzag fitto:
Rivoltate il lavoro, stirate e inserite i noccioli di ciliegia (per questa misura di cuscino circa 600 grammi):
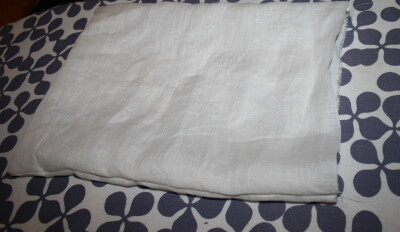
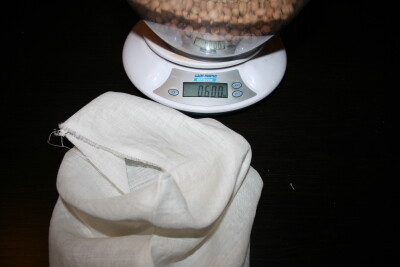
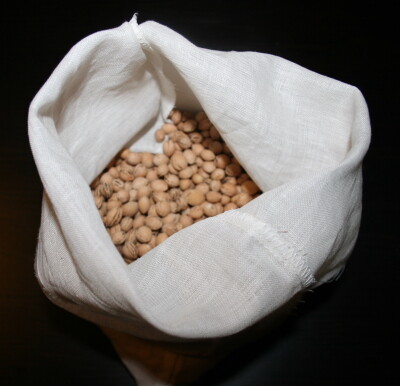
Stirate una doppia piega girando due volte verso l’interno del sacchetto l’orlo aperto:
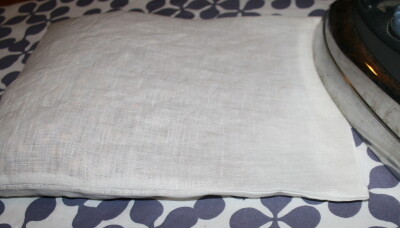
poi chiudete scegliendo un punto dritto e stretto:
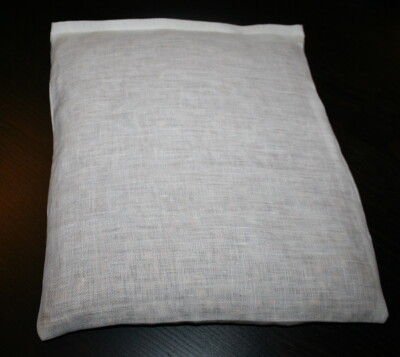
Sacchetto interno aperto
Tagliate a doppio un rettangolo di stoffa sempre largo circa 26cm, ma lungo il doppio del sacchetto chiuso (circa 60cm)
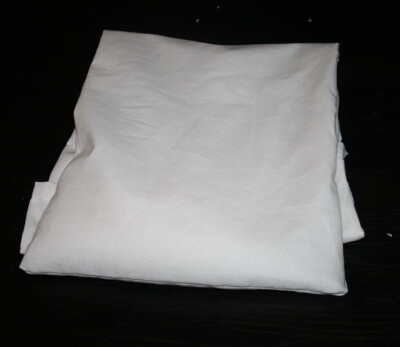
Procedete come sopra: cucite a rovescio con punto dritto lasciando un lato corto aperto, rifinite col punto a zigzag e rivoltate il lavoro.
Orlate il bordo aperto stirando un risvolto doppio e rifinite cucendo questa volta non a doppio, ma lasciando il lato completamente aperto.
Inserire i noccioli di ciliegia e poi ripiegate su se stesso il sacchetto.
In questo modo i noccioli caldi non potranno uscire e metterli e toglierli sarà molto semplice (anche in caso di lavaggio).
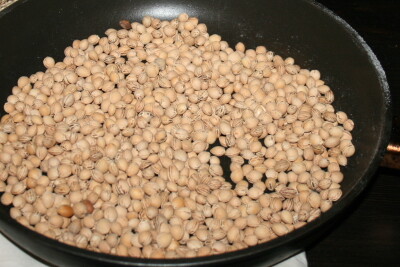
Oltre che coi noccioli di ciliegia, un sacchetto aperto consente di utilizzare altri materiali naturali scaldati, ma deperibili: miglio, riso, pastina da minestra, e soprattutto (consigliatissimo contro i dolori muscolari) il sale grosso:
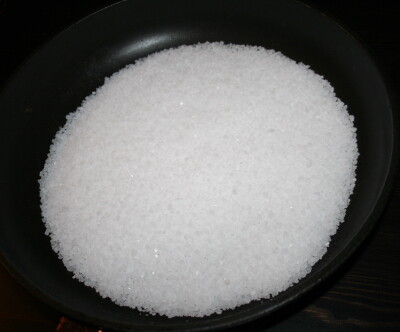
scaldato in padella e applicato all’interno del sacchetto è un rimedio economico e davvero efficace, che molti fisioterapisti consigliano… naturalmente dovrete aver cura di non lasciare il sale nel sacchetto dopo l’uso.
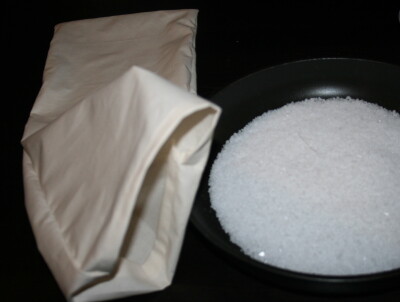
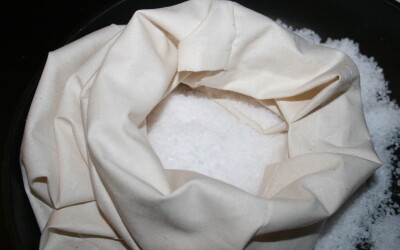
Mettete il sacchetto ripiegato all’interno della federa:
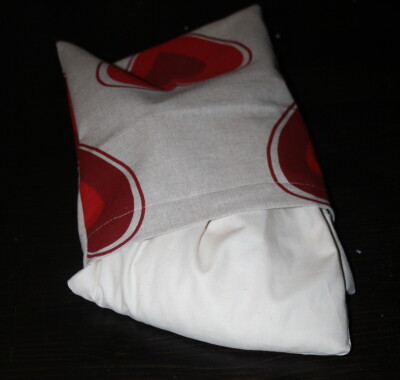
Federa (per sacchetti chiusi o aperti)
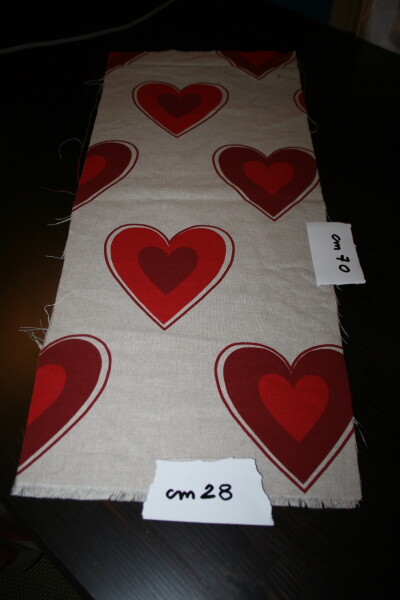
Tagliate una striscia di tessuto (non a doppio) nelle misure 70 x 28 cm
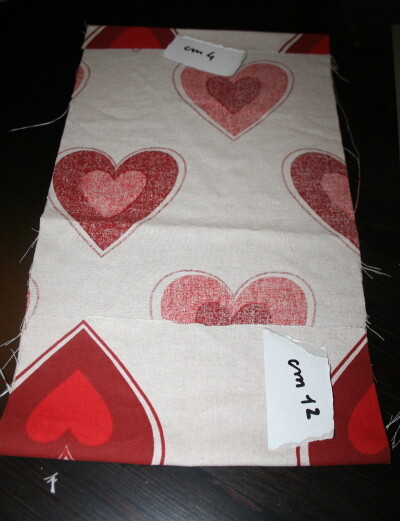
Girate il tessuto a rovescio e stirate i due bordi: uno largo 4cm e l’altro 12cm. Marcate bene queste due pieghe:
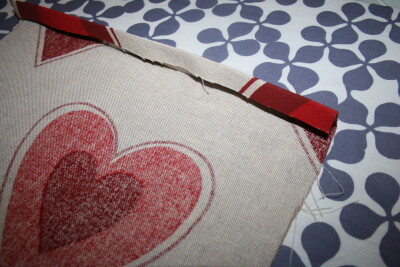
Rispettando le pieghe fatte, rivoltate il tessuto eccedente per circa 1cm e stirate nuovamente, quindi cucite con un punto dritto stretto per orlare il tessuto. Così per il bordo più stretto:
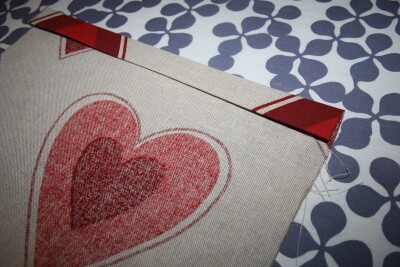
e così per il bordo più largo:
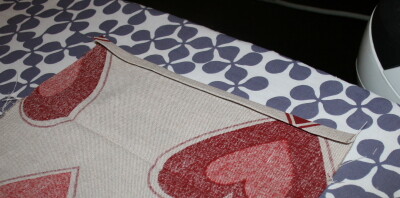
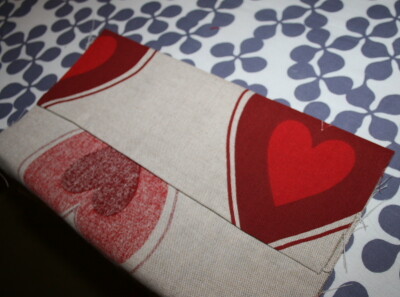
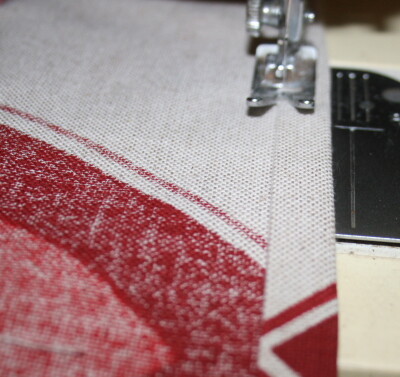
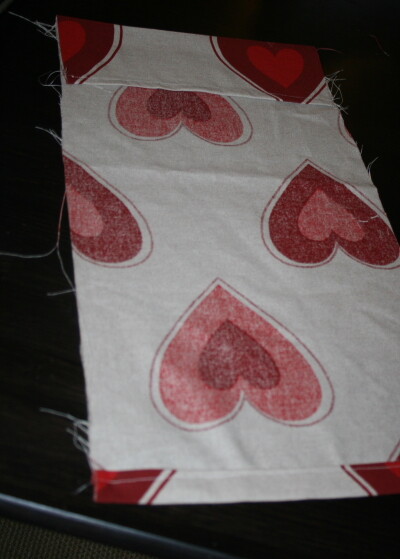
Ora ripiegate la striscia su se stessa, con davanti della stoffa esterno, lungo la metà e stirate.
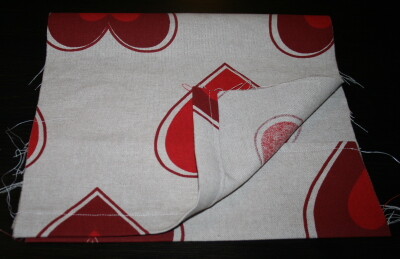
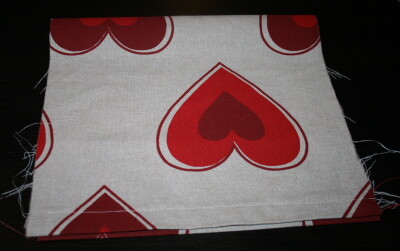
quindi, sempre con la stoffa a dritto, fate le due cuciture laterali:
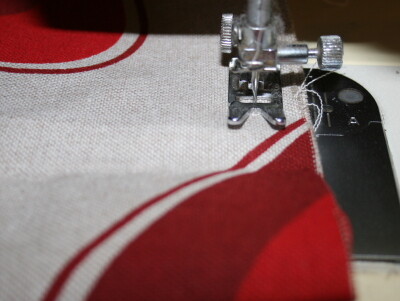
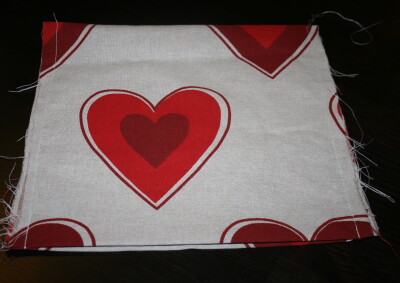
Rifilate i bordi con le forbici il più vicino possibile alla linea delle cuciture, ma senza esagerare:
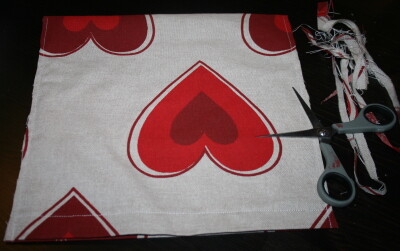
Rivoltate la vostra federa a rovescio e stirate:
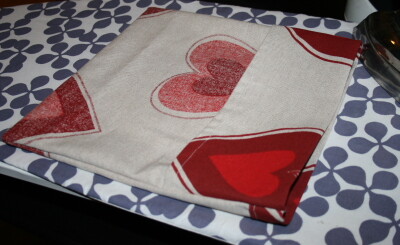
Fate una seconda cucitura sempre con un punto dritto e corto ad almeno 1cm dal bordo. In questo modo la federa sarà bella anche vista dall’interno e la cucitura sarà molto resistente:
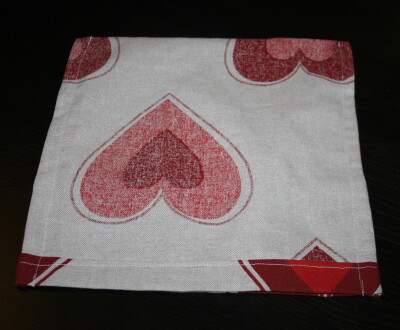
Rivoltate la federa sul dritto, e inserite il sacchetto.


Tutorial: cherry stone thermal pillows. The “problem” of the cherry stone thermal pillows is that heating the cushion may damage the fabric. This is why I prefer to prepare them with removable pillowcase. Another problem is the use for those without the microwave, so in addition to the version with inner bag closed, I have prepared another that allows you to extract the stones for heat them in a pan, oven or stove. Another advantage is the ease of washing.
Tutorial: cherry stone thermal pillows
Inner bag closed


Cut twice a piece of cloth (I chose the linen) in sizes 26x30cm,

sewn with a straight and narrow stitch sewing, leaving one short side open, then trimmed the edges with scissors to about 0.5 cm from the seam and make a zigzag stitch sewing:


Turned over the job, ironed and insert the cherry stones (for this measure of pillow approximately 600 grams):


Ironing a double fold by turning twice towards the interior of the bag the open edge:

then sewn:

Tutorial: cherry stone thermal pillows
Inner bag open
Cut a rectangle of fabric always double width of about 26cm, but double the length of the closed bag (approximately 60cm):

Proceed as above: sewn backward with straight stitch, leaving one short side open, finished with zigzag stitch and turned the job.
Edged the open edge ironing a double lapel and finished stitching this time not double, but leaving the side completely open.
Insert the cherry stones and then folded on itself the bag.
In this way the hot stones can not get out, and put them and remove them will be very simple (even in case of washing).

In addition to the cherry stones, an open bag allows you to use other natural materials heated, but perishable: millet, rice, and especially (highly recommended for muscle pain) the coarse salt:

heated in a pan and applied inside the bag is a really cheap and effective remedy, which many physiotherapists recommend … of course you’ll have to take care not to leave the salt in the bag after use.


Put the bag folded inside the pillowcase:

Tutorial: cherry stone thermal pillows
Pillowcase (for bags closed or open)
Cut a strip of fabric (not double) in the measurements 70 x 28 cm

Turn the fabric inside out and iron the two edges: one 4cm wide and the other 12cm. Mark well these two folds:

Respecting the folds made, turned over excess tissue for about 1cm and ironed again, then sewn with a straight stitch to hem the fabric. So for the narrower edge:


and so for the wide edge:


Now fold the strip on itself, along the middle with the right side of the fabric outside, and iron:


therefore, always with the fabric on the right side, do the two side seams:


Cut the edges with scissors as close as possible to the line of stitching, but do not overdo it:

Turned over your pillowcase inside out and ironed:

Make a second seam always with a straight stitch at least 1cm from the edge. In this way the pillowcase will be beautiful also seen from the inside and the seam will be very resistant:

Turned over the pillowcase right side out, and insert the bag.


