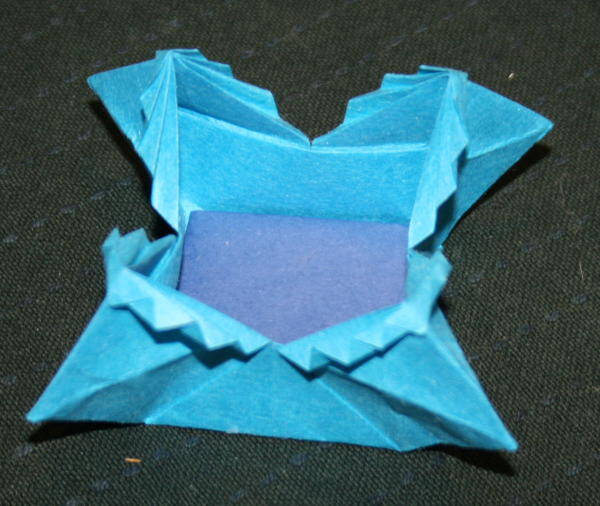
Scatola origami molto decorativa, ma semplice da realizzare: ideale per conservare piccoli tesori, ma anche le perle delle unità Montessori… potrebbe anche essere una bella scatolina natalizia.
Materiale occorrente: un foglio quadrato di qualsiasi dimensione
Come si fa
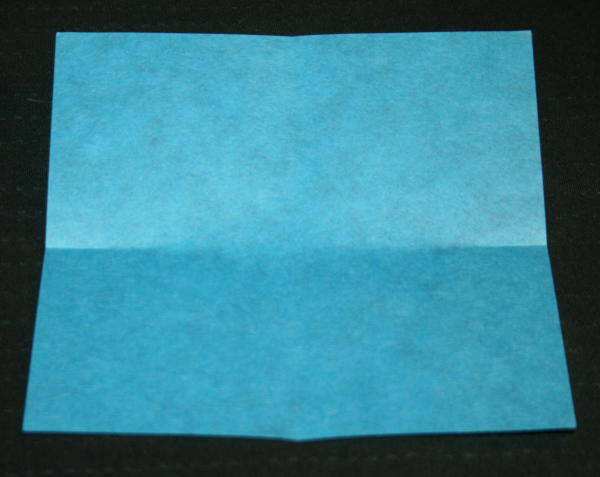
Piegando il foglio marcate la metà di ognuno dei quattro lati:
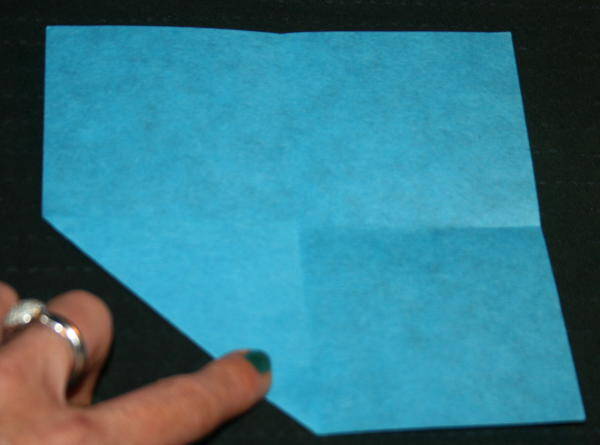
tenendo i segni fatti come punti di riferimento piegare i quattro angoli verso il centro del foglio, così:
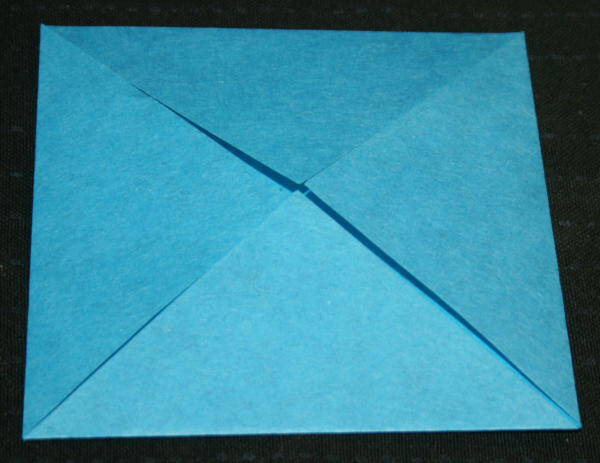
girate:
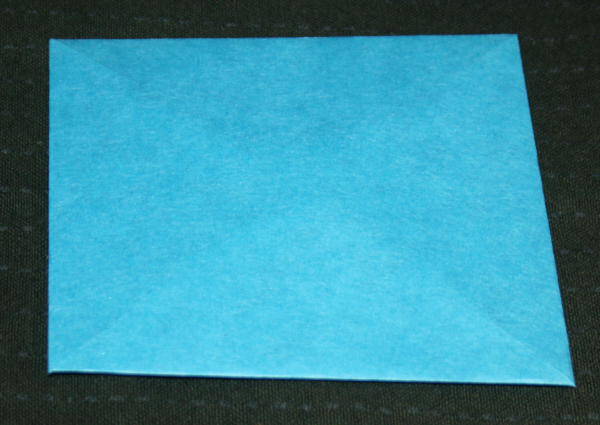
marcate la metà di ognuno dei quattro lati con una piccola piega:
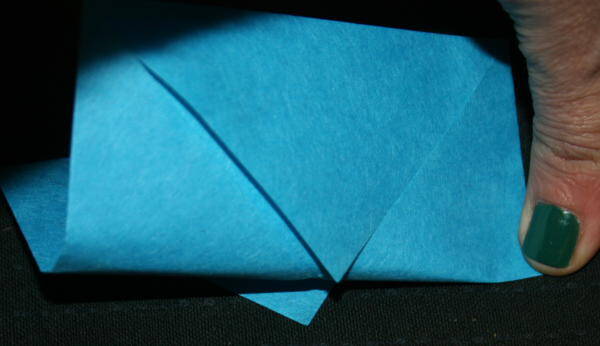
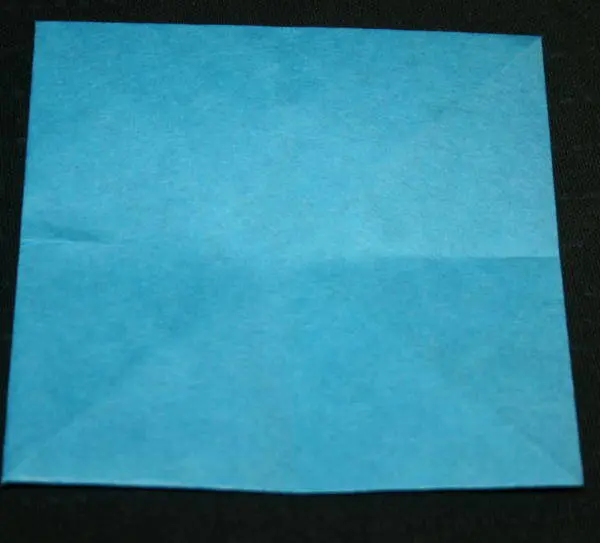
e piegate i quattro angoli verso il centro:
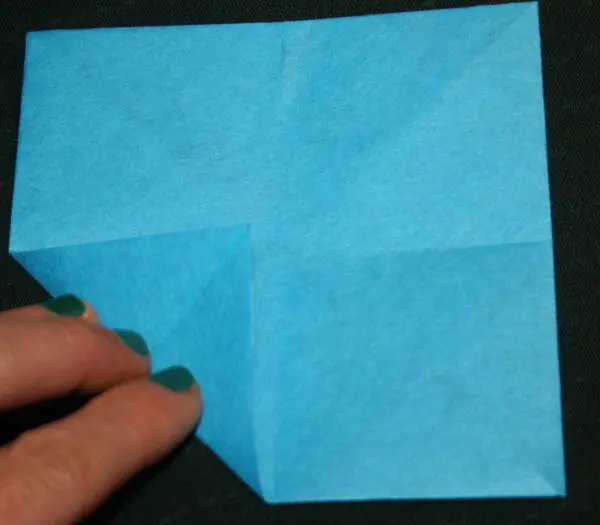
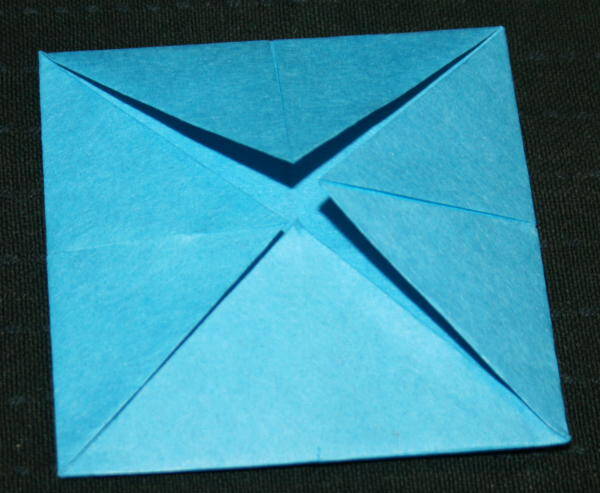
Ripiegate ognuno dei quattro angolini così:
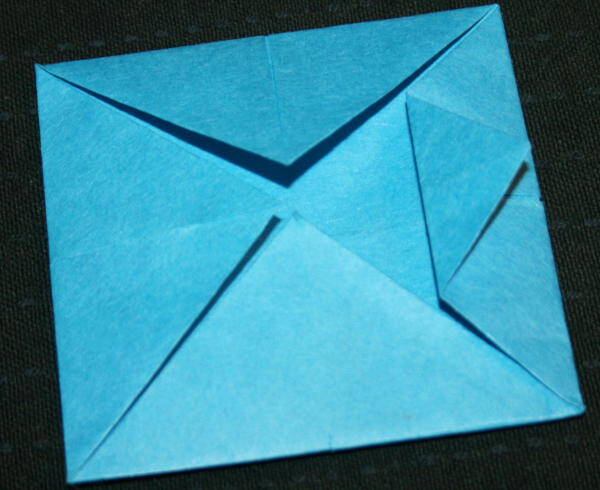
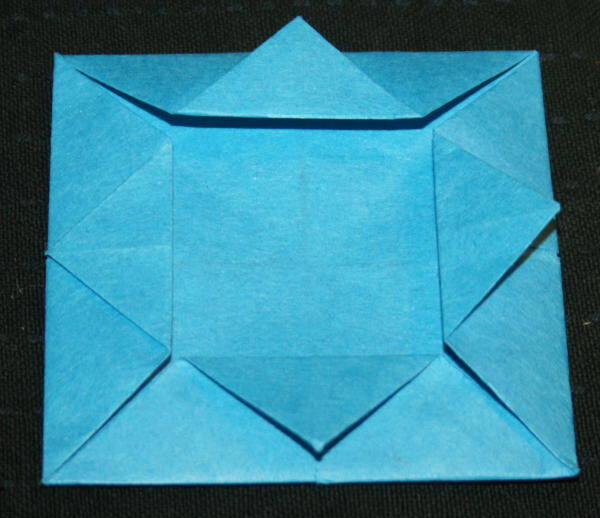
Accentuate le quattro pieghe che fanno da cornice piegandole e riaprendole più volte:
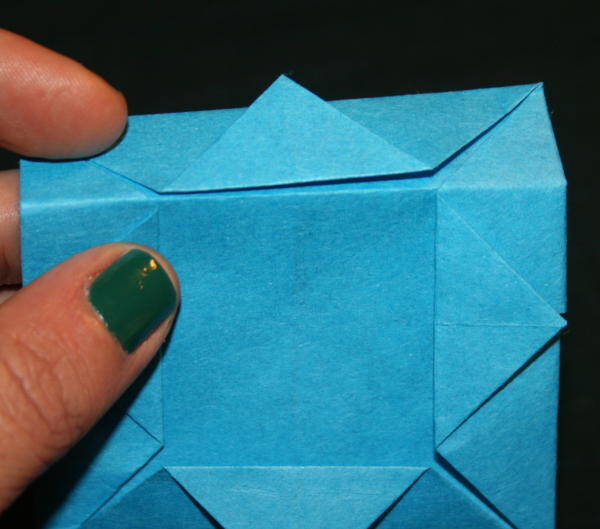
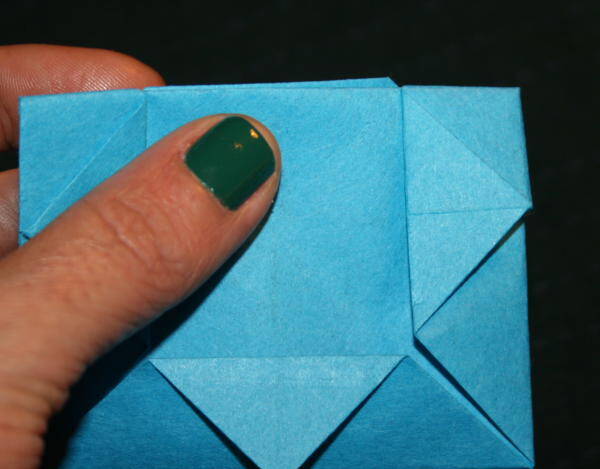
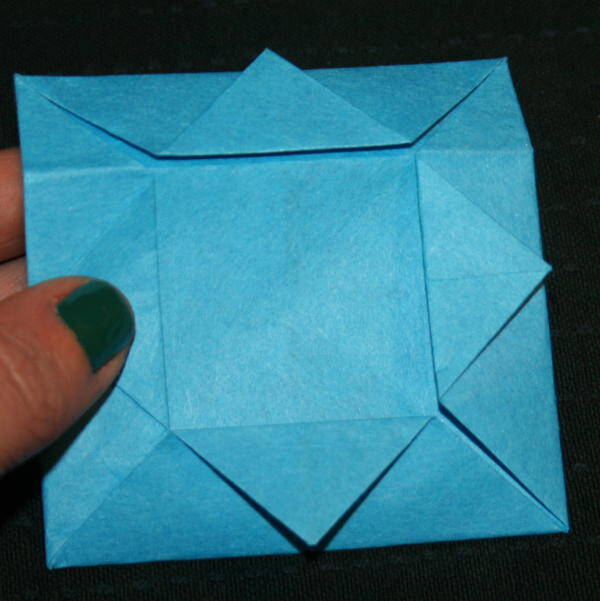
dopo averlo fatto su tutti e quattro i lati, posate il quadrato sul tavolo:
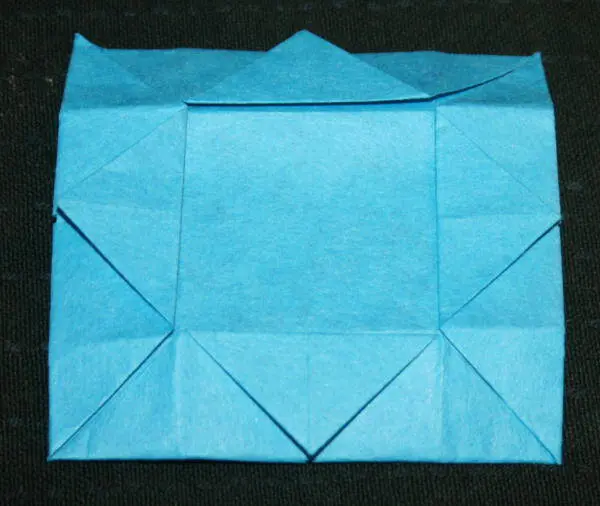
e giratelo:
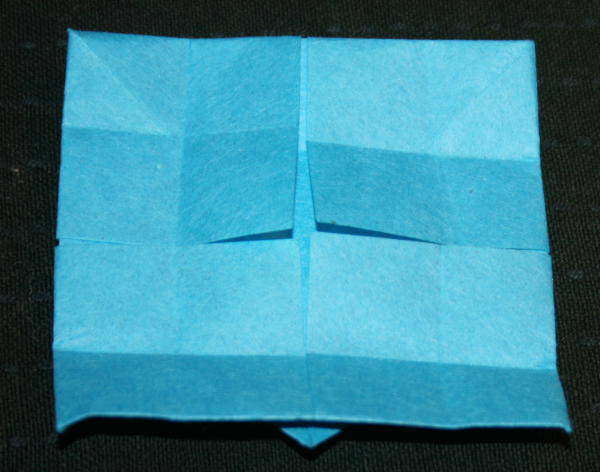
Piegate i quadratini a formare 4 piccoli triangoli in corrispondenza degli angoli, così:
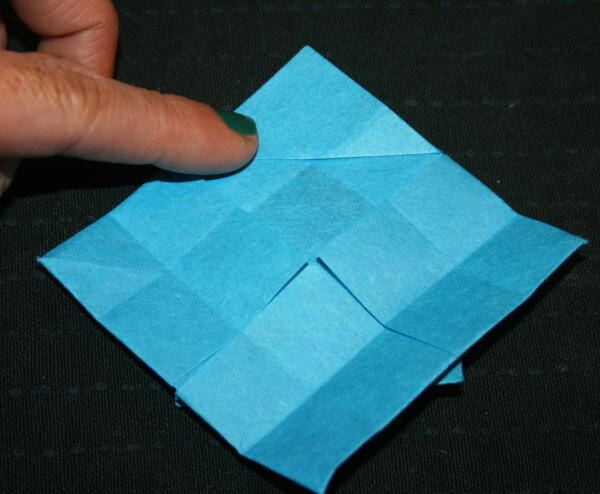
Senza prendere misure, ma semplicemente cercando di farle più strette possibili, fate tante piegature avanti e indietro, formando una piccola “fisarmonica” su ognuno dei quattro angoli:
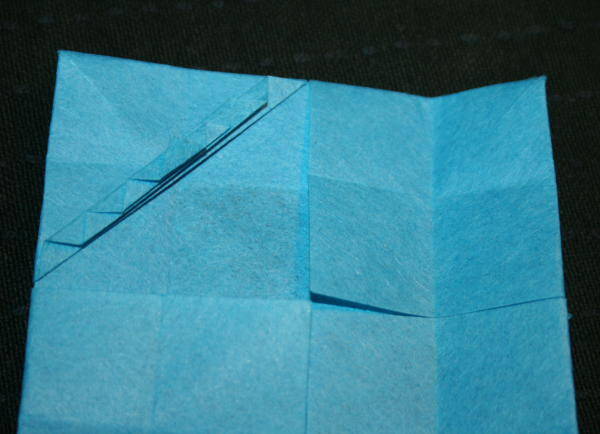
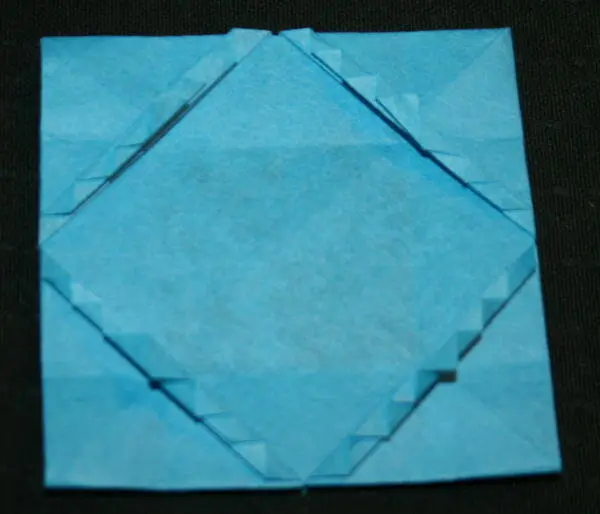
Inserite un dito nell’angolo
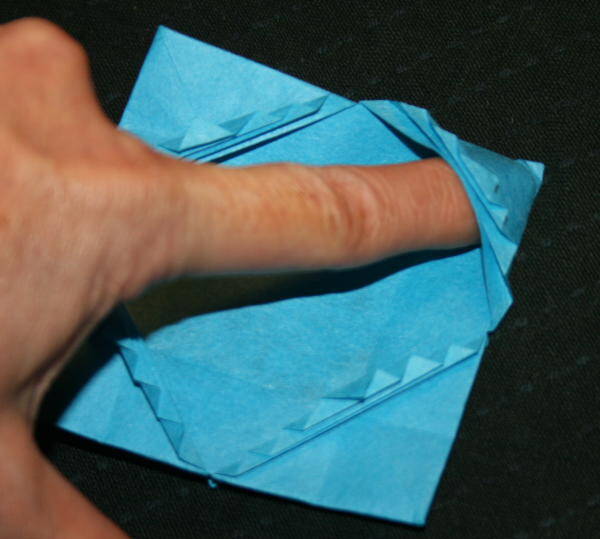
e modellate bene la piaga dell’angolo della scatolina:
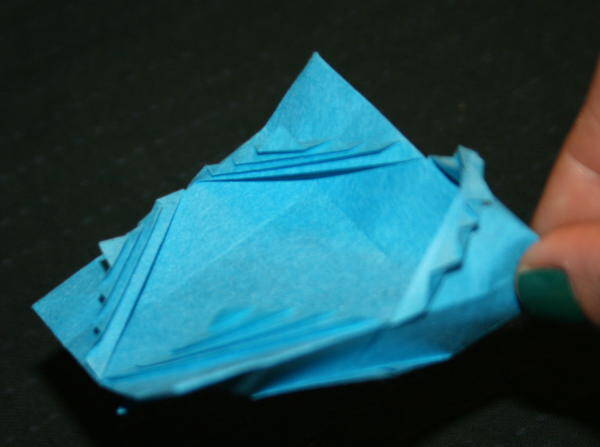
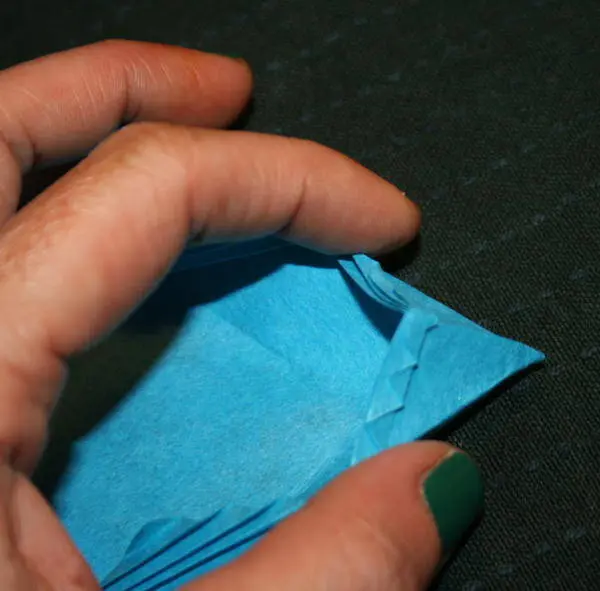
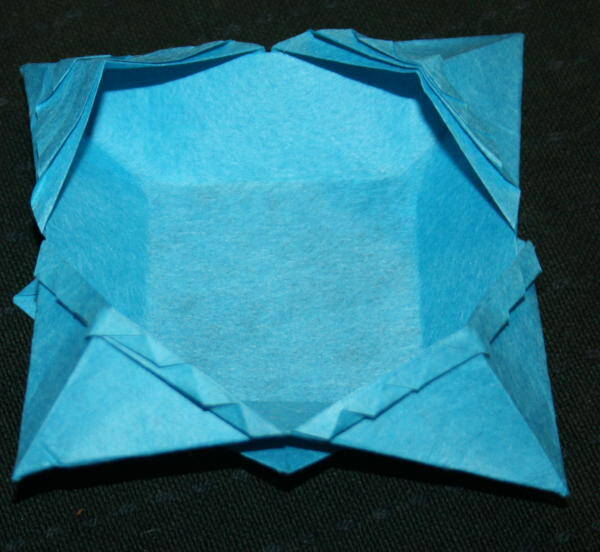
modellate poi il fondo, così, e la vostra scatola origami è pronta:


Se volete, potete inserire sul fondo un cartoncino colorato, che esalta la forma della scatolina e la rende più solida.
Abbassando i quattro triangolini che si trovano ai lati esterni, la scatolina assumerà una forma più “a stella” o cristallo, anche a seconda del colore di carta scelto:

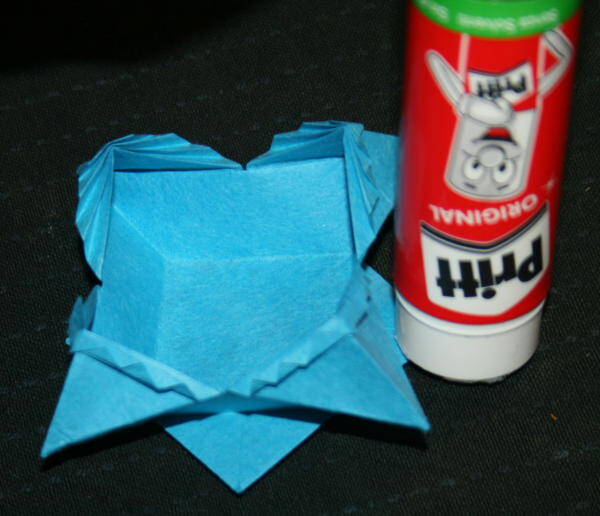
Infine un consiglio: per rendere la scatola più resistente, se non siete interessati alla stella, incollate i triangolini laterali:
Questo articolo fa parte dell’Album di Vita pratica:

Origami box without lid tutorial (model 1): origami box very decorative, but easy to do. Ideal for storing small treasures, but also the Montessori pearls of units … could also be a nice Christmas box.

Origami box without lid tutorial (model 1)
What do you need?
a square sheet of any size

Origami box without lid tutorial (model 1)
What to do?
Folding the sheet marked half of each of the four sides:

taking the marks made as reference points fold the four corners towards the center of the sheet:


turn it:

marked half of each of the four sides with a small fold:


and fold the four corners toward the center:


Fold each of the four corners :


Accentuate the four folds that make the frame by folding and reopening them several times:


after having done it on all four sides, put the square on the table:

and turn it:

Fold the squares to form 4 small triangles at the corners:

Without taking measures, but simply trying to make them more narrow as possible, do so many folds back and forth, forming a small “accordion” on each of the four corners:


Enter a finger in the corner:

and model fine the fold of the angle of the box:


modeled then the bottom, and your origami box is ready:


Finally a tip: to make the box more durable, if you are not interested in the star, glued the lateral triangles:


