Ragnatela di carta ritagliata – tutorial
Ragnatela di carta ritagliata – realizzare ragnatele ritagliate è davvero semplicissimo. Le ragnatele sono utilissime come decorazioni per la festa di Halloween: possono essere messe ai vetri delle finestre, alle pareti, possono essere incollate sui palloncini, sui biglietti di invito, sui sacchetti di carta porta dolcetti, e possono essere usate anche come centrini, sottobicchieri o sottopiatti.
E’ una bella attività di ritaglio per i bambini che già hanno acquisito una certa abilità nell’uso delle forbici, mentre le piegature possono essere preparate dall’adulto.
Ragnatela di carta ritagliata
materiale occorrente
– un foglio di carta rettangolare (io ho usato un normale foglio A4 da stampante)
– forbici
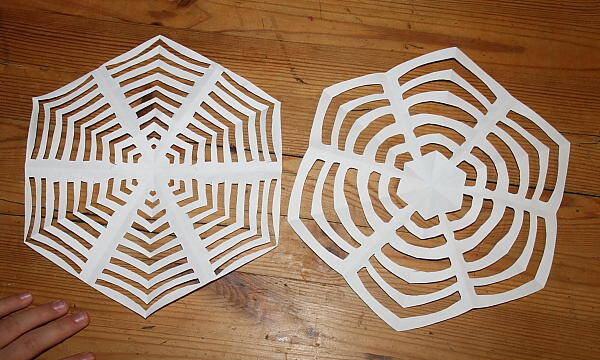
Ragnatela di carta ritagliata
come si fa
Le piegature sono le stesse che si fanno anche per realizzare i fiocchi di neve.
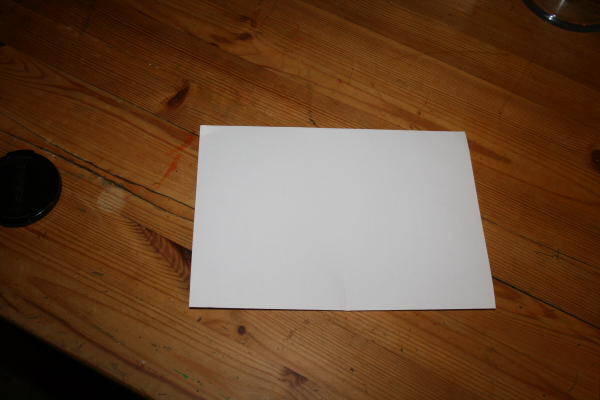
Ponete il foglio sul tavolo, in verticale e piegatelo a metà in modo tale che la piega si trovi in basso:
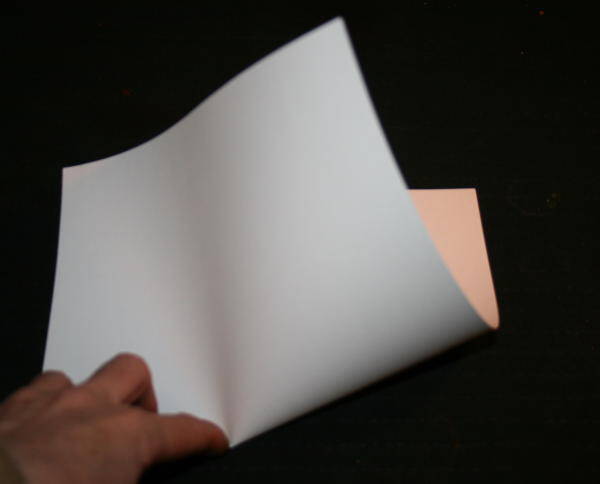
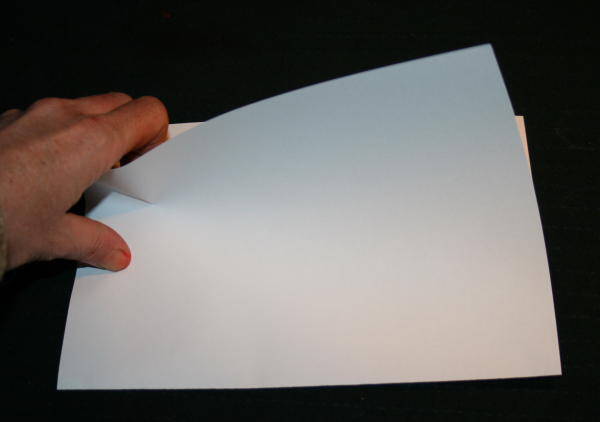
Marcate la metà (senza piegare tutto il foglio).
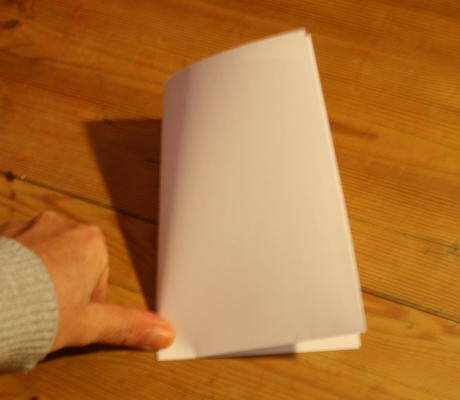
Aprite.
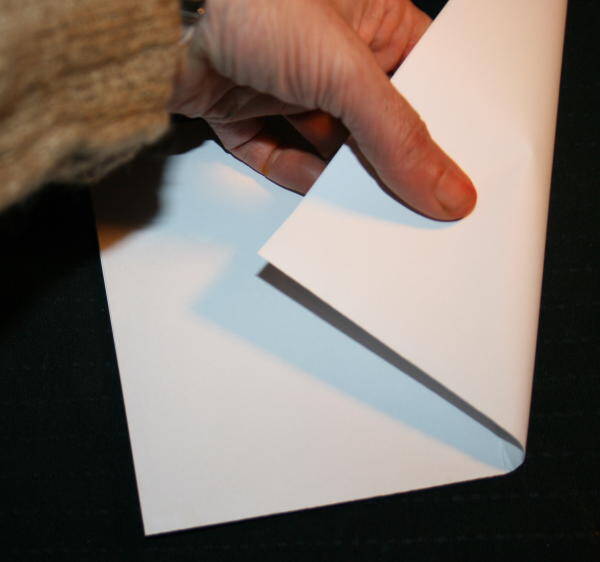
Ora si tratta di piegare così il lembo a destra e quello a sinistra in modo da ottenere questo triangolo. Questa è la piegatura più difficile, perchè, a parte il segno della metà, non ci sono altri particolari punti di riferimento. Può essere utile fare una sorta di cono e poi marcare le pieghe, ma non vi preoccupate: anche se non è tutto perfetto, otterrete una bellissima ragnatela:
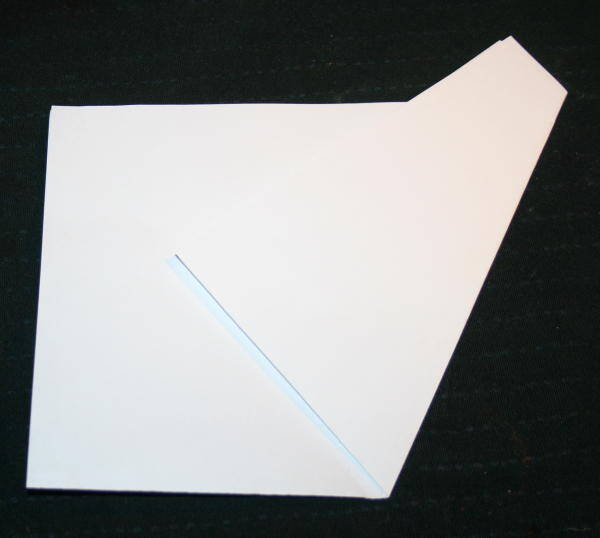
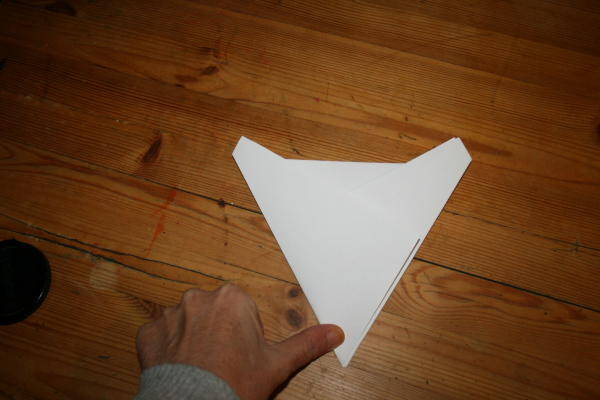
tagliate in corrispondenza dell’altezza dell’angolo destro del triangolo piegato:

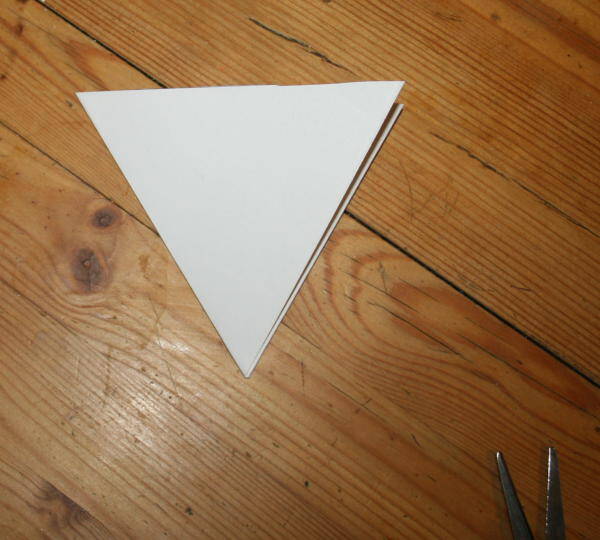
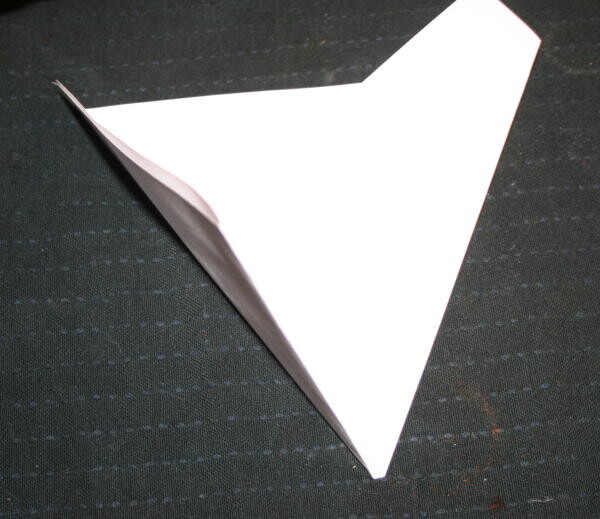
e piegate a metà:
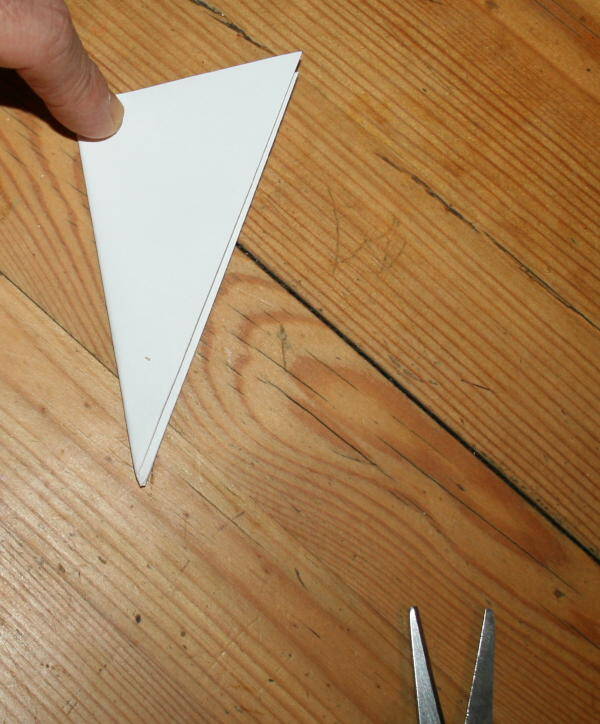
La piega principale è quella “non sfogliabile”.
Tracciate sul triangolo una linea curva in alto e un tratteggio a piacere a poca distanza dalla piega principale. Disegnate tante linee curve, parallele alla prima, seguendo il tratteggio. Ritagliate seguendo le linee fatte:
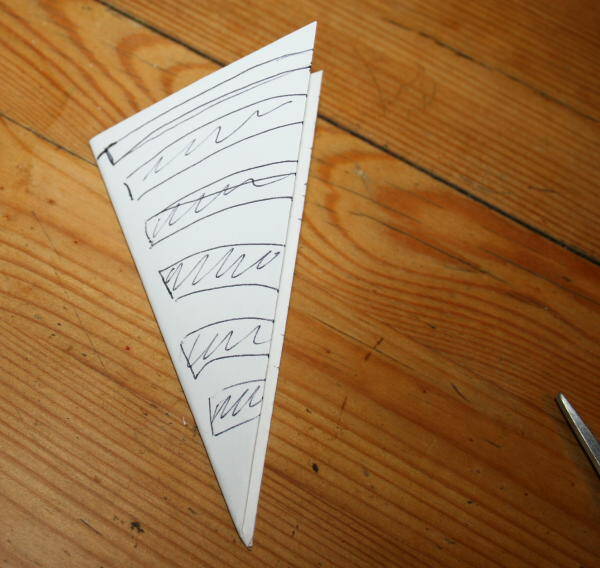
Una ragnatela così fitta è naturalmente più difficile da ritagliare:
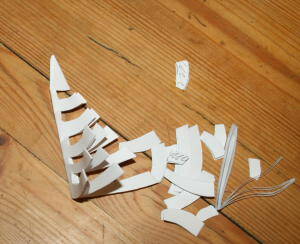
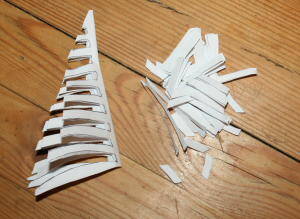
Aprite:

Questo articolo fa parte dell’Album di Vita pratica:

Cropped spiderweb tutorial – Make cropped spiderweb is really simple. The webs are useful as decorations for Halloween: can be put in the windows and on the walls, they can be pasted on the balloons, the invitation cards, the paper bags for sweets, and can also be used as doilies, coasters or underplates.
It is a nice activity of cropping for children who already have acquired some skill in the use of scissors, while the folds can be prepared by the adult.
Cropped spiderweb tutorial
What do you need?
– a rectangular sheet of paper (I used a normal A4 sheet)
– scissors

Cropped spiderweb tutorial
What to do?
The folds are the same that are also made to achieve snowflakes. Place the paper on the table, vertically, and fold it in half in such a way that the fold is at the bottom:


Mark the middle (without folding the whole sheet):

open:

Now we have to bend the flap on the right and the flap to the left so as to obtain this triangle. This is the folding more difficult, because, apart from the sign of the half, there are no other particular reference points. It may be useful to make a sort of cone and then mark folds, but do not worry: even if everything is not perfect, you will get a beautiful spider web:


cut along a horizontal line that starts at the height of the angle right of the triangle folded:


and fold in half:

The main fold is that “not browsable”.
Draw on the triangle many curved lines parallel. Cut along the lines made:

crop:


open:


