Archeologia per bambini: RESTAURO DELLA CERAMICA
La ceramica è stata inventata circa 10.000 anni fa, nell’epoca Neolitica, e da allora noi uomini non abbiamo mai smesso di usarla! Per questo motivo, questo materiale è uno dei più diffusi negli scavi archeologici, molto spesso sotto forma di frammenti.
Ed eccomi qua, a riprendere l’idea del restauro della tazza della nonna.
Il laboratorio diventa ancora più interessante per i bambini se prepariamo per loro due o più tazze della nonna rotte, i cui frammenti sono mischiati. Supponiamo di averle messe entrambe nella nostra vaschetta sensoriale preistorica,
di averle scavate e numerate, di averle classificate con l’etichetta “ceramica” e messe nei nostri sacchettini da frigo.
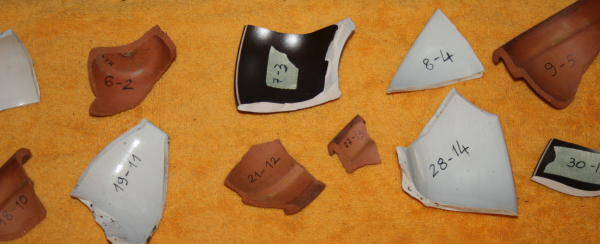
Nel nostro esempio abbiamo due tazze di ceramica ed un vaso in terracotta:
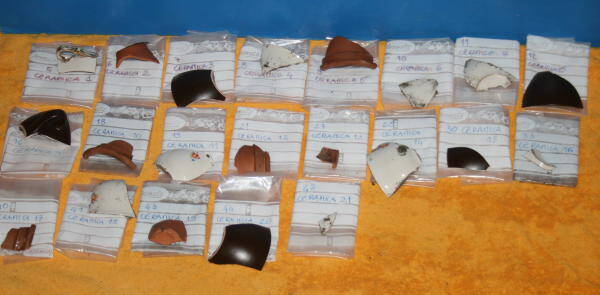
Nel caso in cui si avesse solo una tazza da restaurare, si può saltare la fase di divisione dei materiali (vedi più sotto) ed andare direttamente oltre. Un’alternativa è quella di mischiare alla tazza “intera” altri frammenti di ceramica che non sono attinenti, scegliendoli perché hanno colori diversi, o si distinguono in qualche modo dall’altro materiale.
Se non si è fatto lo scavo della vaschetta, si può comunque preparare il tutto rompendo una o due tazze che non ci servono più (è per una buona causa!), scegliendone due abbastanza diverse tra loro. Si imbustano poi i pezzi uno per uno in sacchetti da frigo, e si numerano in ordine progressivo (mischiando le tazze!) con l’etichetta “ceramica 1, 2, 3” eccetera, come abbiamo spiegato qui.
Ricordate che se rompete appositamente delle tazze per questa attività, i bordi possono essere taglienti (mentre è molto raramente cosi nei siti archeologici), quindi sorvegliare il lavoro da vicino. Un’alternativa può essere quella di limare i bordi prima di rendere i frammenti di tazza accessibili ai bambini.
Ed ora si procede con il lavoro sul materiale.
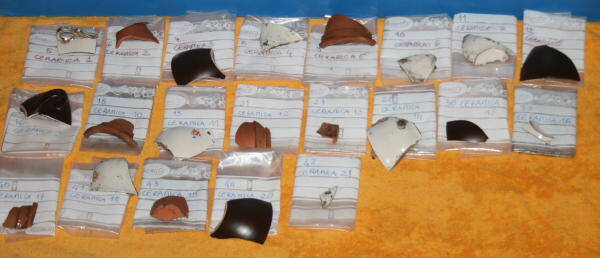
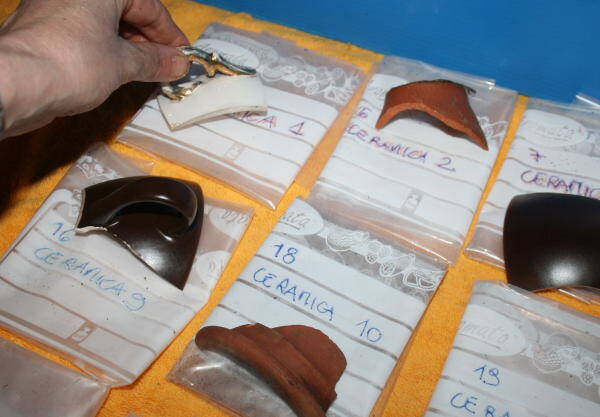
Per prima cosa si tolgono tutti i pezzi di ceramica dalle rispettive bustine, riponendoli sulla bustina stessa…ricordiamoci che sulla busta è indicato il numero che classifica ciascun pezzo!
Fase 1 – lavaggio
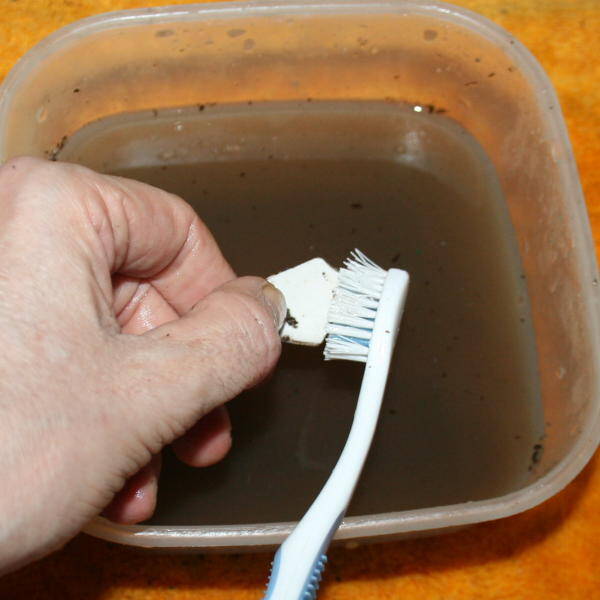
Servono una semplice bacinella da bucato ed uno spazzolino da denti.
Si prende ciascun pezzo di ceramica,
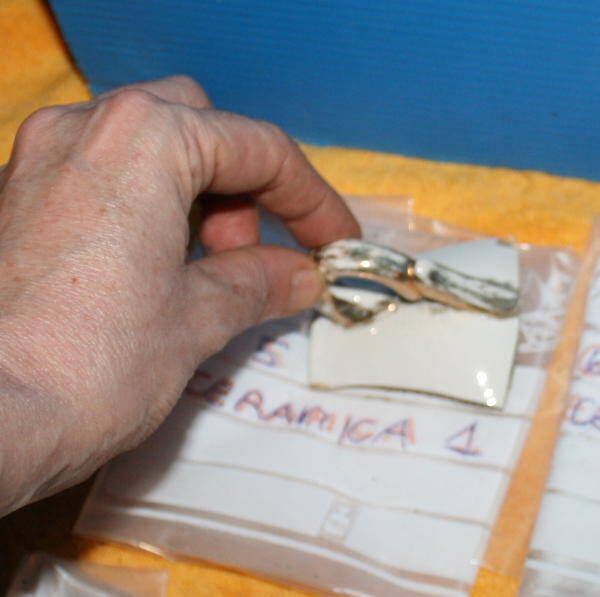
lo si immerge nell’acqua
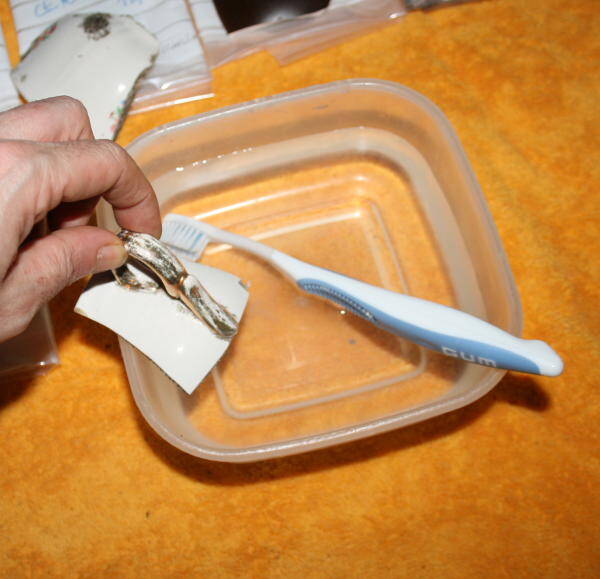
e lo si strofina delicatamente con lo spazzolino.
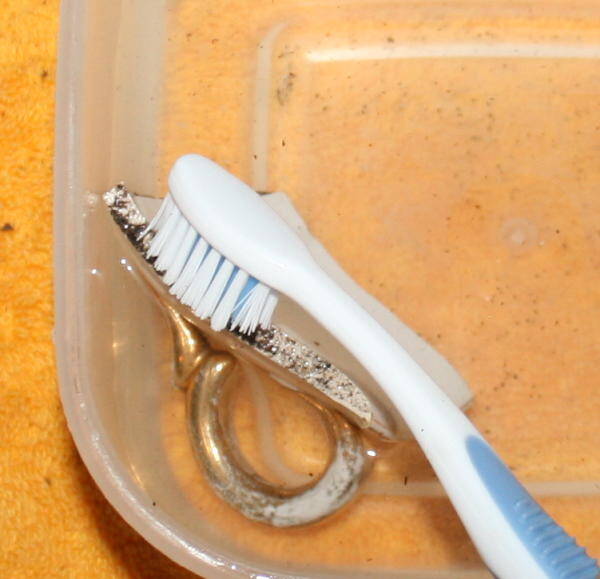
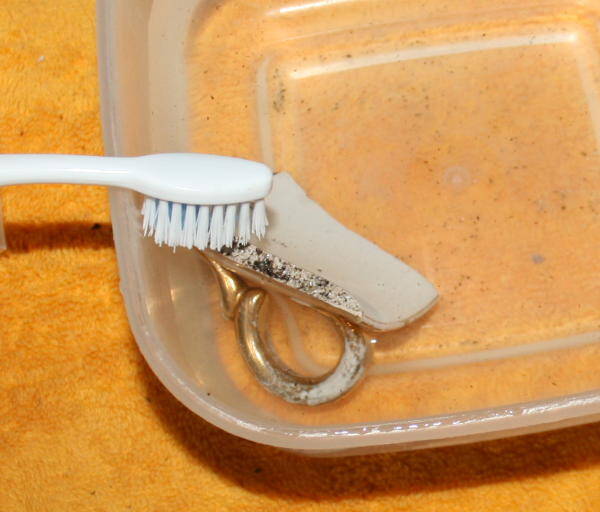
Lo scopo è di eliminare tutti i residui di terra dello scavo.
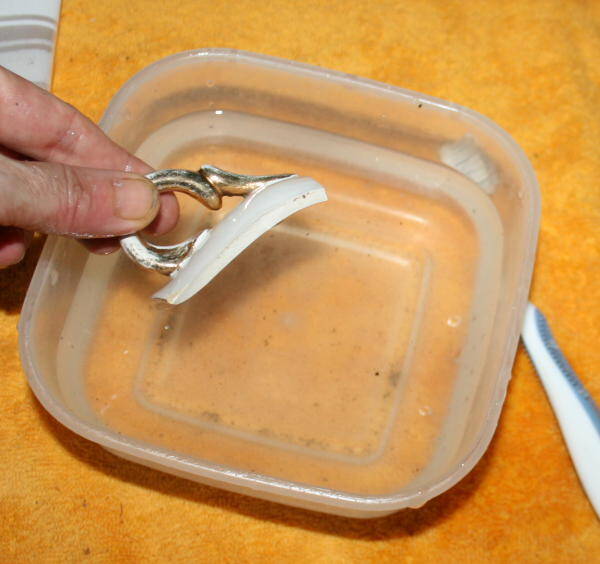
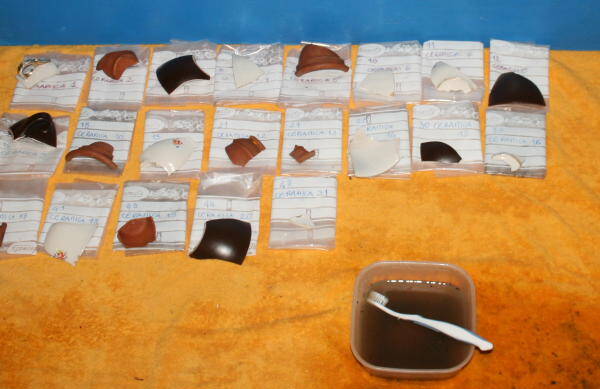
Dopo aver lavato ogni pezzo lo si ripone accuratamente sulla sua bustina e si aspetta che tutti i frammenti siano ben asciutti.
Fase 2 – siglatura
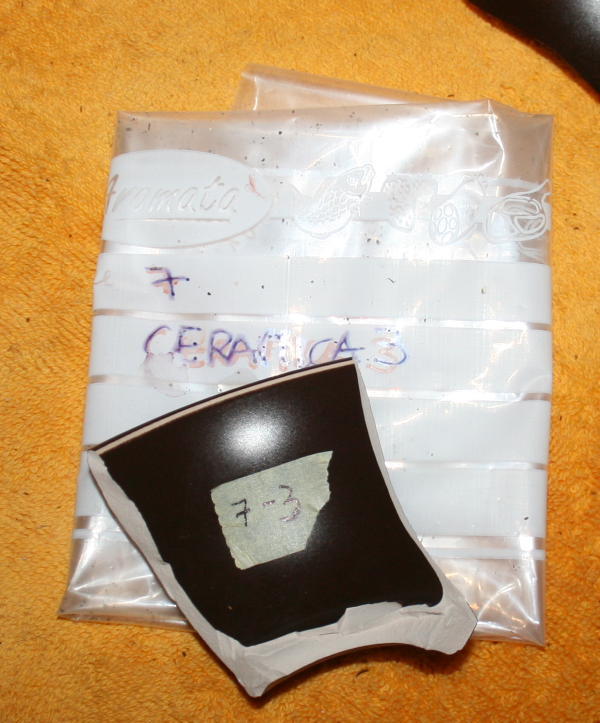
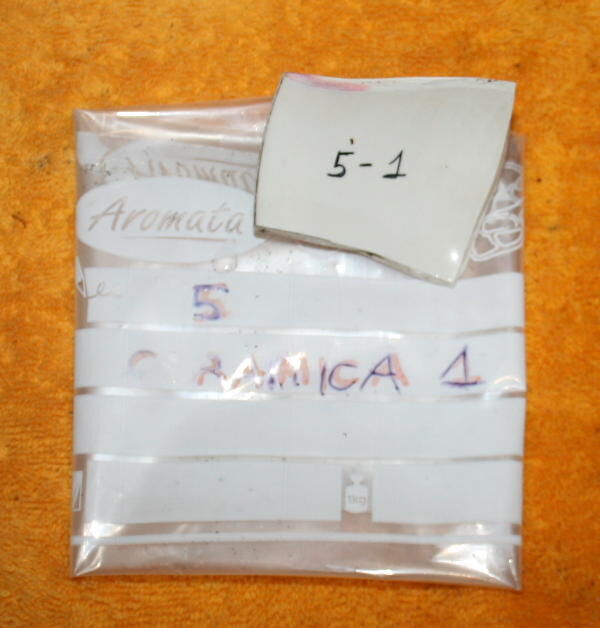
La siglatura consiste nello scrivere su ogni pezzo di ceramica il numero che lo identifica, in modo da poter poi eliminare le bustine.
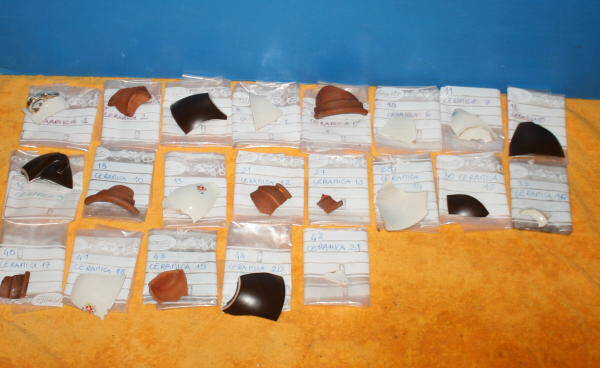
Si scrive direttamente sul pezzo con un pennarello indelebile (noi di solito usiamo i lumocolor) oppure con pennino ed inchiostro.
Ovviamente con i bambini più piccoli si può saltare questa fase, oppure disegnare sui pezzi dei piccoli simboli, come fiori, cuori, sfere o triangoli.
Fase 3 – riordino
Una volta finita la siglatura, si possono eliminare le bustine.
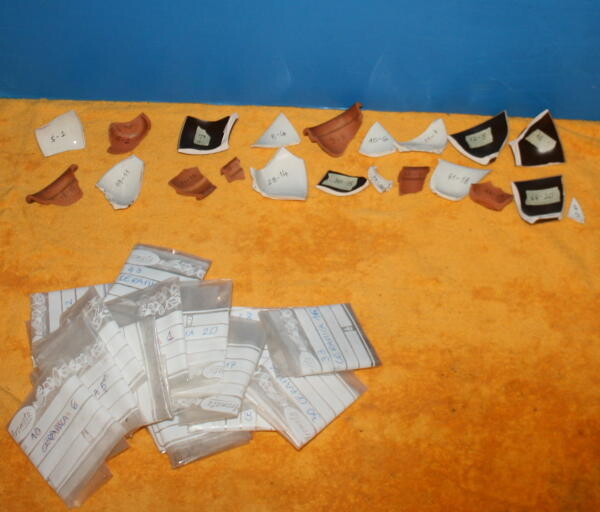
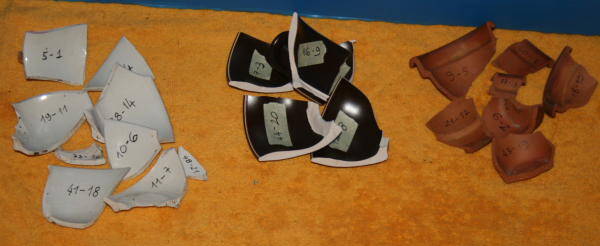
A questo punto, allineando tutti i frammenti, dobbiamo cercare di capire quali appartengono potenzialmente allo stesso vaso. Aiuteremo i bambini a dividerli per colore, consistenza, decorazioni, eccetera.
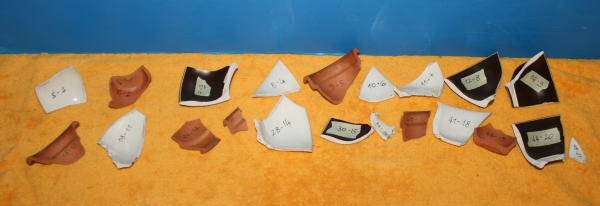
Immaginiamo di avere, alla fine del lavoro, due o tre mucchietti di ceramiche diverse sul nostro piano da lavoro.
Fase 4 – ricomposizione del vaso
E’ arrivato il momento di cominciare la ricomposizione del vaso!
Si sceglie un mucchietto (il più promettente!) e si allineano tutti i pezzi sul tavolo. Si comincia a questo punto a cercare di ricostruire la tazza, come se fosse un puzzle. Noi archeologi chiamiamo questa fase “trovare gli attacchi”.
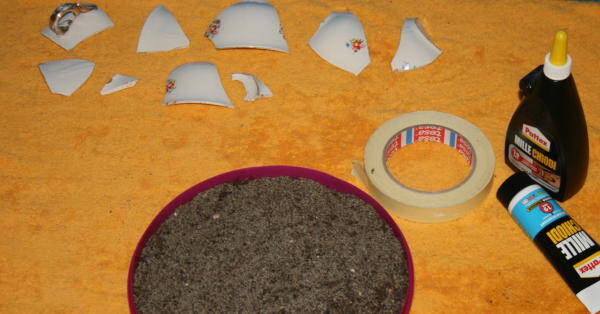
Il modo ideale per procedere a questa operazione è di farlo in una bacinella larga e dai bordi bassi riempita di sabbia. A mano a mano che troviamo un attacco, oppure l’orientamento di un pezzo, lo “piantiamo” nella sabbia per tenerlo su.
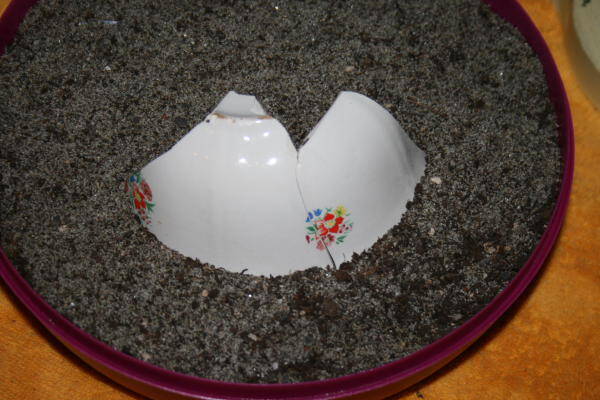
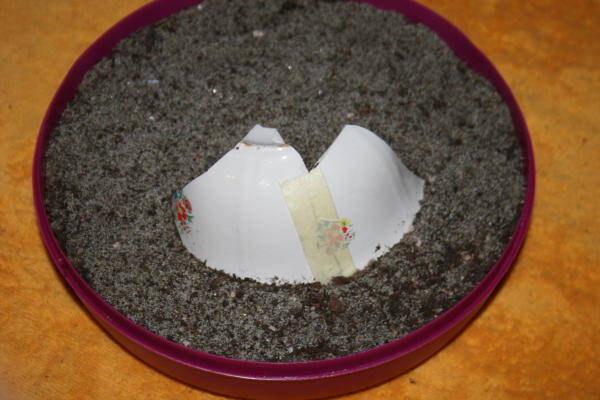
Per far tenere insieme i pezzi, si può usare uno scotch carta.
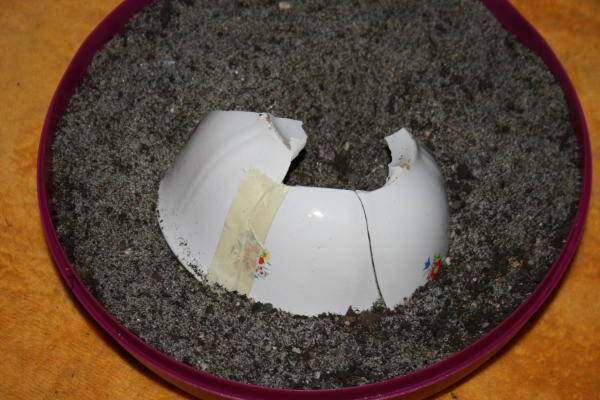
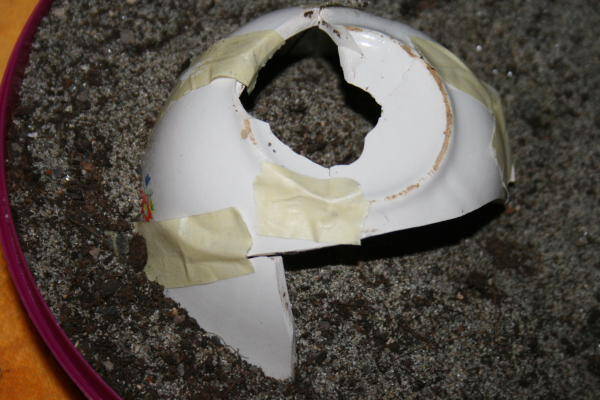
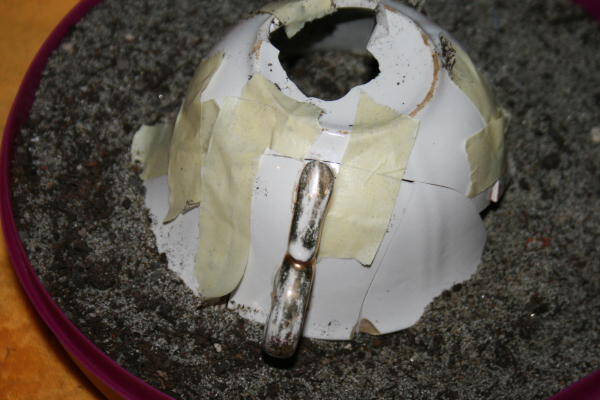
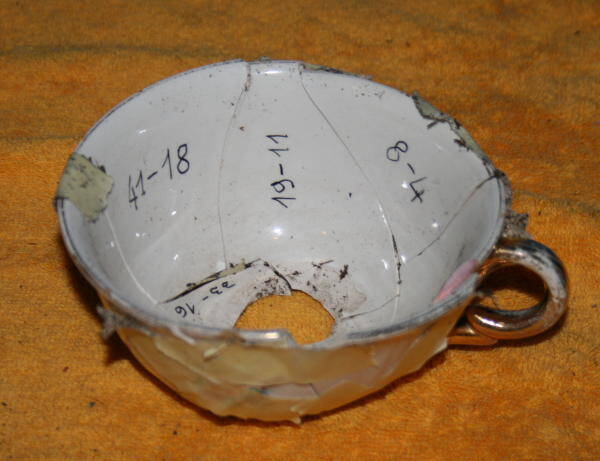
Questa è la fase centrale del lavoro, può richiedere un po’ di tempo, ma è anche la parte più creativa!
Ricordatevi che se qualche pezzo manca, si può sempre dare un’occhiata negli altri mucchietti di ceramica, quella “scartata” per vedere se abbiamo dimenticato qualche pezzo!
Fase 5 – incollaggio
Una volta finito, si può eventualmente ripassare il reperto restaurato con la colla. Ricordatevi però che i restauratori giudicano di volta in volta se sia il caso di incollare e quale colla usare!
Per questa attività vi consigliamo di usare la colla UHU, ma attenzione! Questa colla richiede una posa di contatto di circa 15 minuti, durante i quali occorre tenere premuto un coccio contro l’altro, e questo per ogni pezzo.
In alternativa esistono colle per ceramica che richiedono tempi di contatto decisamente minori, quella scelta per realizzare le immagini richiede un tempo di contatto di 10 secondi, e un tempo di asciugatura di 24 ore.
Il restauro e’ un’attività che richiede molta pazienza!
Consiglio di incollare i pezzi due a due e lasciarli asciugare (dopo aver premuto un coccio contro l’altro per i minuti richiesti dalla colla scelta), o almeno fino a quando se si lascia uno dei due pezzi questo non si stacca dall’altro, sostenuti dallo scotch di carta e magari piantati nella vaschetta di sabbia.
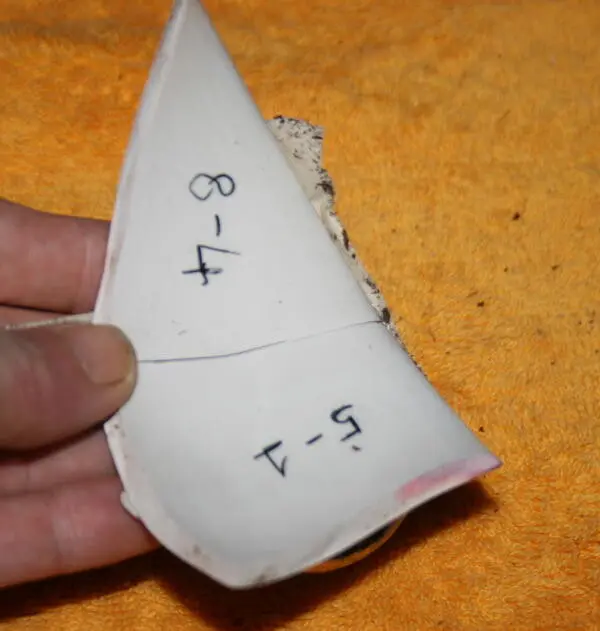
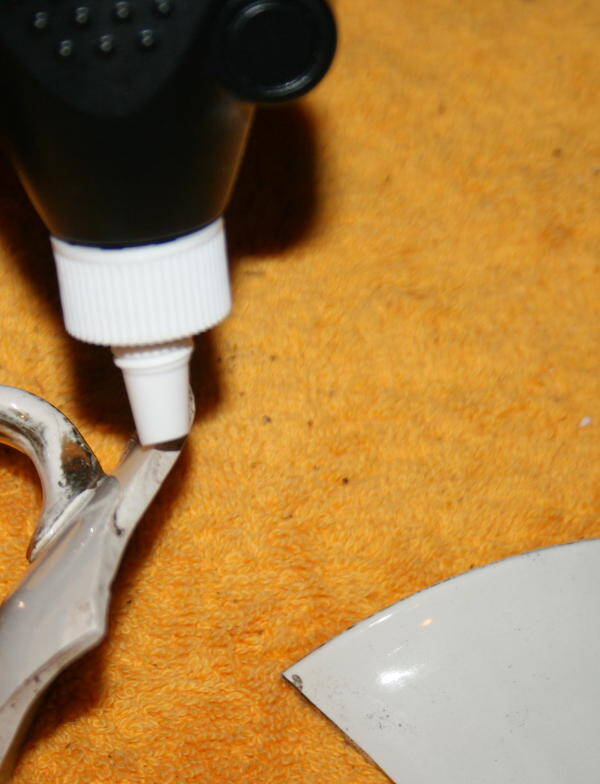
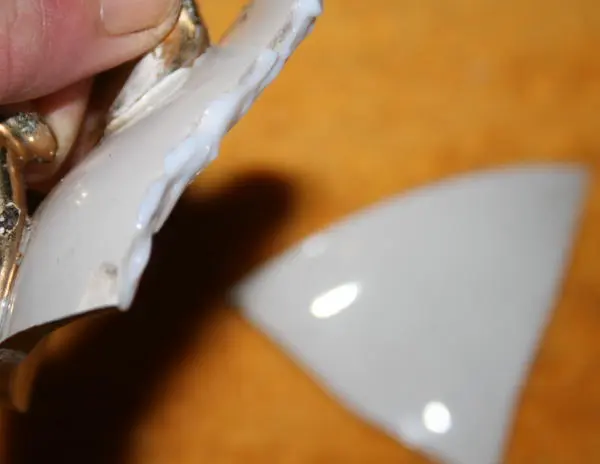
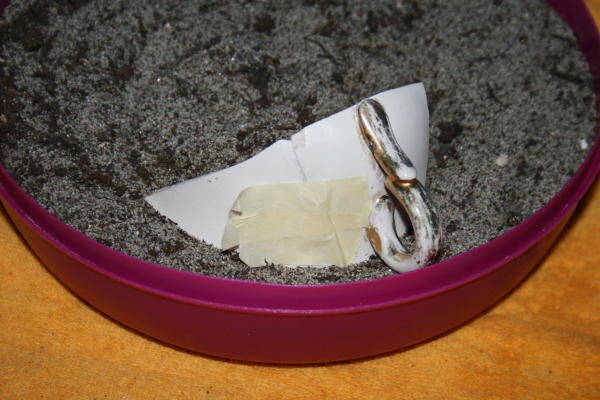
L’ideale sarebbe lasciarli asciugare tutta la notte, il giorno dopo rimuovere lo scotch e incollare di nuovo i pezzi così ottenuti due a due e ripetere le operazioni di asciugamento, fino a ricomporre la tazzina.
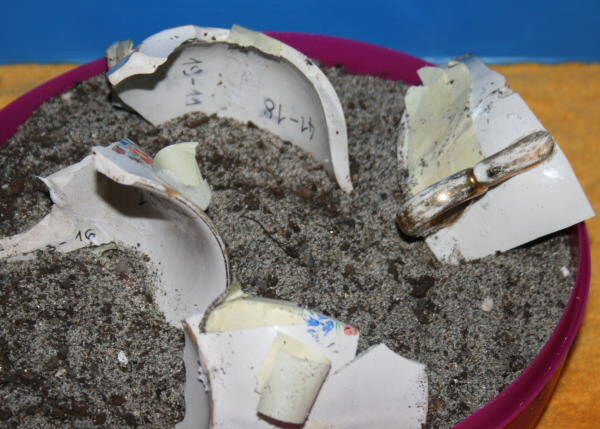
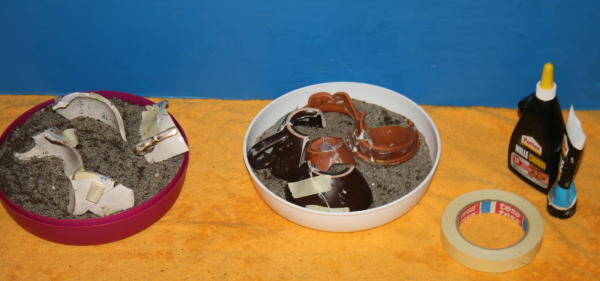
È un procedimento molto lungo che può durare anche qualche giorno, ma se non si lascia asciugare bene la colla, i pezzi si staccano o il vaso “collassa”.
Fase 6 – documentazione
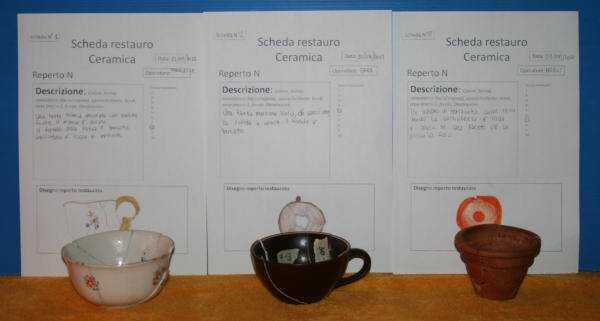
Quando avete finito ed il vostro vaso è pronto, si può procedere con un bel disegno, ed una descrizione nella scheda apposita:
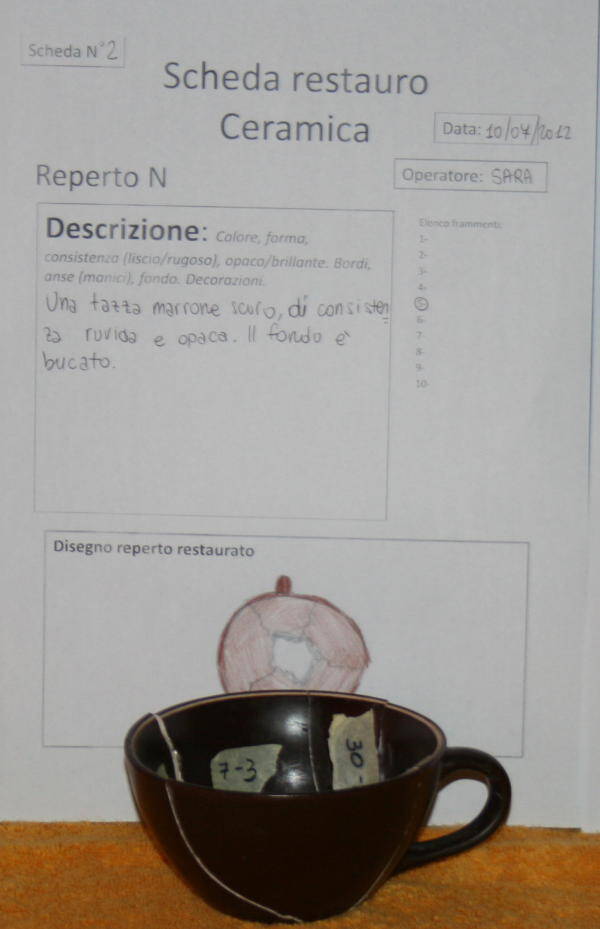
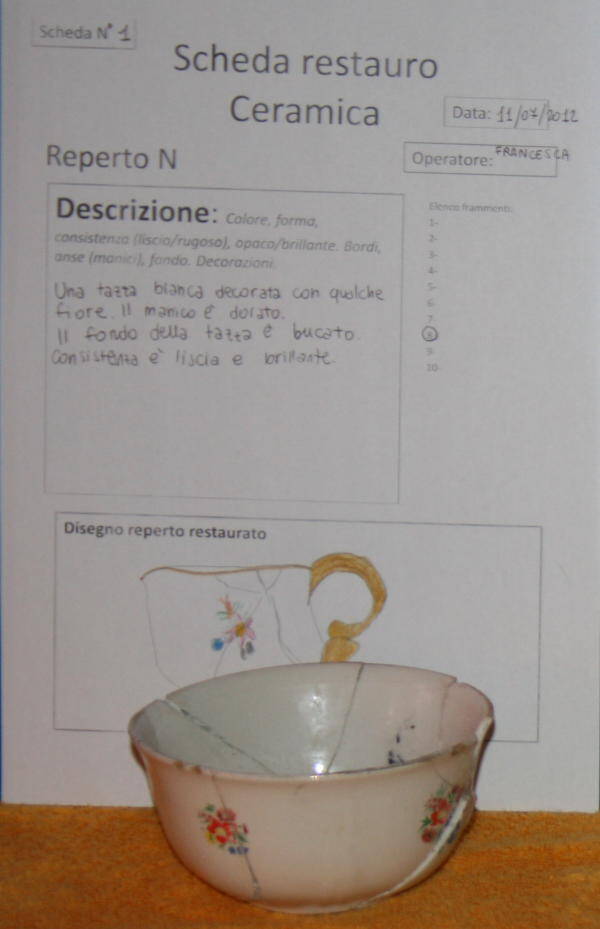
La scheda è disponibile gratuitamente per gli abbonati
Enza Spinapolice
________________________
Enza Spinapolice e’ un’archeologa del Paleolitico e lavora all’Istituto di Antropologia Evoluzionista Max Planck, di Leipzig. Ha studiato Preistoria a Roma, poi ha conseguito un dottorato Europeo tra Roma e Bordeaux, e da tre anni fa ricerca in Germania. Si interessa in particolare all’origine biologica e culturale della nostra specie, all’estinzione dei neandertaliani ed alle società di cacciatori raccoglitori passate e presenti. Oltre a girare il mondo e studiare il passato, Enza ha una famiglia multiculturale, ed un bimbo di due anni e mezzo, a cui spera di insegnare molto presto la preistoria.
_________________________

_________________________
Archeology for children: RESTORATION OF CERAMICS (guest post). Ceramics was invented about 10,000 years ago, in the Neolithic period, and since then we humans have never stopped using it! For this reason, this material is one of the most widespread in archaeological excavations, very often in the form of fragments.
And here I am, to take up the idea of the restoration of the grandmother’s cup.
The laboratory becomes even more interesting for children if we prepare for them two or more broken cups, whose fragments are mixed. Suppose we have made both in our prehistoric sensory tub,
have them excavated and numbered, have them classified with the label “ceramic” and have them put in our plastic bags.
In our example we have two ceramic cups and a terracotta vase:

In case you had only a cup to be restored, you can skip step of the division of materials (see below) and go straight over.
An alternative is to mix the cup “entire” with other ceramic fragments that are not related, choosing them because they have different colors, or are distinguished in some way from other material.
If you have not made the excavation of the tub, you can still prepare everything by breaking one or two cups that no longer serve us (it’s for a good cause!), choosing two quite different. Then put the pieces one by one in plastic bags, and number them consecutively (mixing cups!) with the label “ceramics 1, 2, 3” and so on, as we have explained here.
Remember that if you break the cups specifically for this activity, the edges can be sharp (but is rarely so in archaeological sites), then supervise the work closely. An alternative may be to sand the edges before you make the fragments of cup accessible to children.
Archeology for children: RESTORATION OF CERAMICS
And now we proceed with work on the material.
First remove all the pieces of ceramics from the respective bags, placing them on the bag itself … remember that on the envelope there is indicated the number that classifies each piece!

Archeology for children: RESTORATION OF CERAMICS
Step 1 – Washing
They serve a simple bowl and a toothbrush. Take each piece,

immers it in water:

and rub it gently with a toothbrush.


The aim is to eliminate all traces of earth of the excavation.

After washing each piece, place it carefully on his bag and expects that all the pieces are completely dry.


Archeology for children: RESTORATION OF CERAMICS
Step 2 – labeling
The labeling consists in writing on each piece of ceramics the number that identifies it, so you can then remove the bags.

Write directly on the piece with a permanent marker (we usually use the Lumocolor) or with pen and ink.
Obviously with younger children you can skip this step, or draw on the pieces small symbols such as flowers, hearts, spheres or triangles.


Archeology for children: RESTORATION OF CERAMICS
Step 3 – reordering
After finishing the labeling, you can eliminate bags.

At this point, aligning all the fragments, we must try to understand what potentially belong to the same vase. We will help the children to separate them by color, texture, decoration, and so on.


Imagine that you have, at the end of the work, two or three piles of different ceramics on our plan work.

Archeology for children: RESTORATION OF CERAMICS
Step 4 – recomposition of the vase
It ‘s time to begin the reconstruction of the vase!
Choose a pile (the most promising!) and line up all the pieces on the table. Now try to reconstruct the cup, as if it were a puzzle. We archaeologists call this stage “to find the attacks.”

The ideal way to carry out this operation is to do it in a wide and low sides basin filled with sand.
As we find an attack, or the orientation of a piece,we “plant” it in the sand to keep it up.


To hold the pieces together, you can use masking tape.


This is the central phase of the work, can take a long time, but it is also the most creative!
Remember that if any piece is missing, you can always take a look in the other piles of ceramics, to see if we have forgotten a piece!
Archeology for children: RESTORATION OF CERAMICS
Step 5 – bonding
Once finished, you can possibly reviewing the finding restored with glue. But remember that the restorers judge from time to time whether it is appropriate and what glue to use to paste!
There are glues for ceramics which require rapid contact times, that chosen for producing the images requires a contact time of 10 seconds and a drying time of 24 hours.
The restoration is an activity that requires a lot of patience!
I recommend to glue the pieces two by two and let them dry (after pressing a piece against the other for the minutes required by the glue choice), or at least until when you leave one of the two pieces that do not come off the other , supported by the masking tape and perhaps planted in the pan of sand.


The ideal is to let them dry overnight, the next day to remove the tape and glue back the pieces obtained two by two, and repeat the operations of drying, until reassemble the cup.


It is a long process that can last a few days, but if you do not let dry the glue, the pieces come off or the vase “collapses”.
Archeology for children: RESTORATION OF CERAMICS
Step 6 – documentation

When you are done and your vessel It is ready, you can proceed with a beautiful drawing, and a description of it in the sheet:
(i diritti appartengono all’autrice)


written by Enza Spinapolice
________________________
Enza Spinapolice is an archaeologist of the Paleolithic, and works at the Institute of Evolutionist Anthropology Max Planck, Leipzig. She studied Prehistory (Rome), obtained an European PhD (Rome and Bordeaux), and in the last three years working in Germany. She is particularly interested in biological and cultural origin of our species, the extinction of the Neanderthals and the hunter-gatherer societies past and present. In addition to travel the world and study the past, Enza has a multicultural family, and a child of two and a half years, and she hopes to teach him prehistory very soon.
_________________________

