Il flexagono è un oggetto molto affascinante che si ottiene attraverso la piegatura della carta, e che si presta ad essere interpretato come libretto puzzle, che può contenere sia testi sia immagini. Sfogliando il flexagono vedrete magicamente apparire le pagine, una alla volta. Un flexagono può essere ottenuto in moltissimi modi, qui il primo dei tuturial sull’argomento…
Materiale occorrente
– un foglio di carta rettangolare (io ho usato un normale foglio A4
– forbici o taglierino
– matita
Come si fa
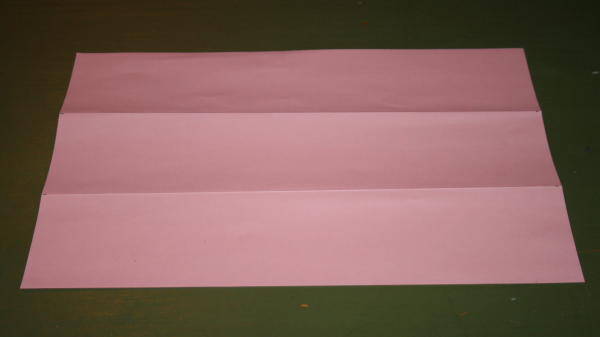
Per prima cosa dividete il foglio in tre parti attraverso delle piegature orizzontali:
e in quattro parti attraverso delle piegature verticali. Avrete così diviso il vostro foglio in 12 quadratini:
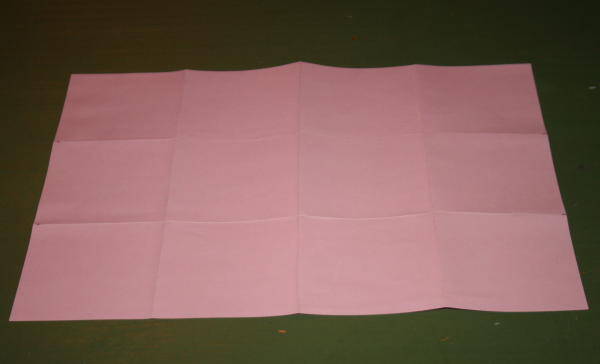
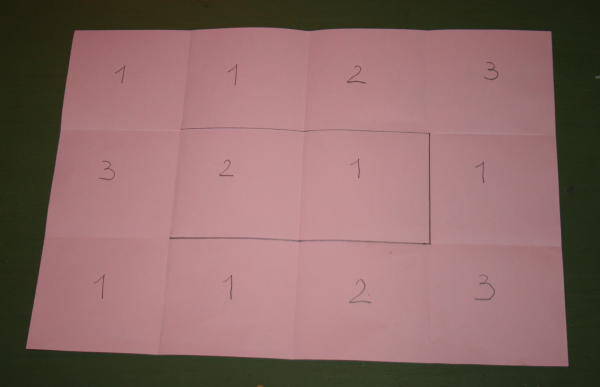
Numerate così la prima facciata, e tracciate con la matita il segno che vedete nell’immagine: sarà la linea da seguire per il taglio:
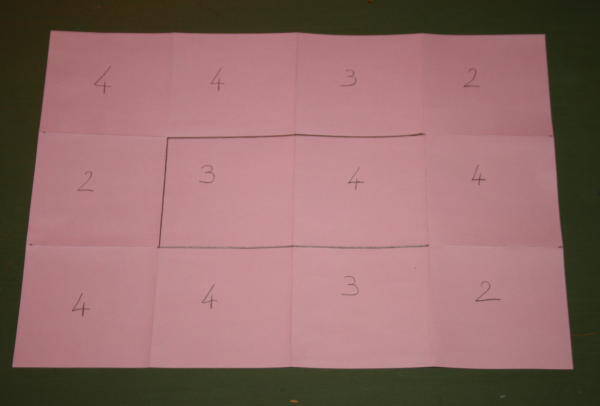
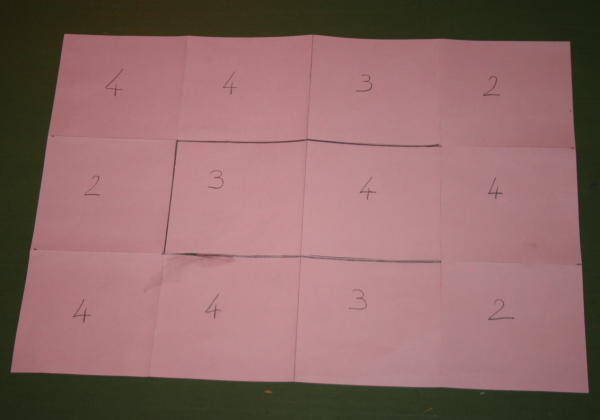
Girate il foglio per poter numerare l’altra facciata (prendetelo e rivoltatelo sul tavolo in modo che la line di taglio si presenti come nell’immagine):
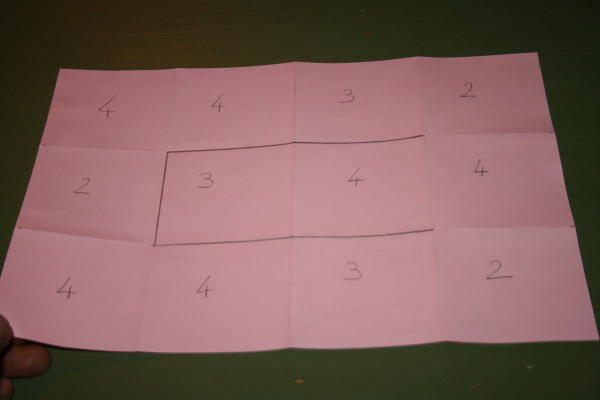
E numerate anche la seconda facciata, come mostrato qui:
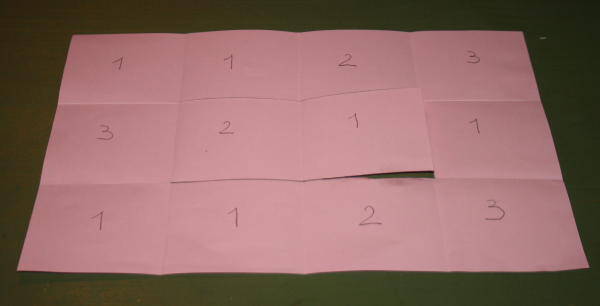
Tagliate lungo la linea che avete tracciato:
Rigirate nuovamente il foglio (prima facciata):
Prendete il lembo tagliato
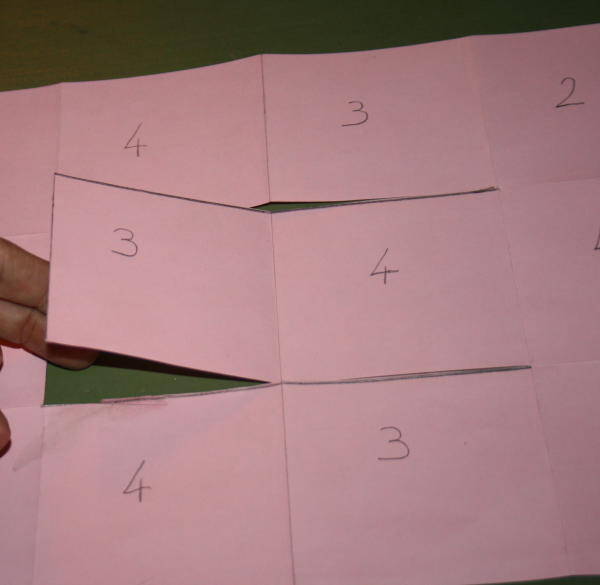
e piegatelo così:
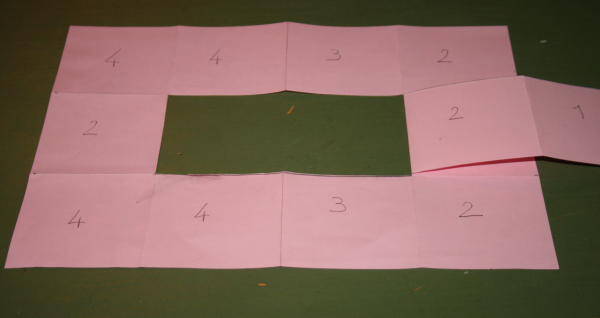
Poi piegatelo nuovamente sotto il foglio così:
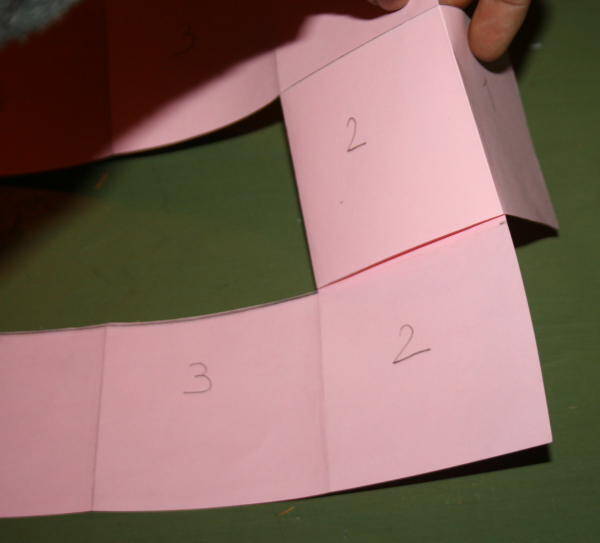
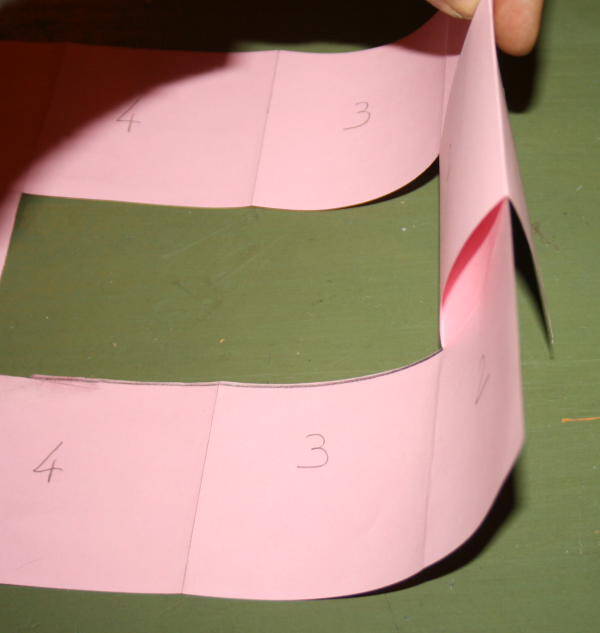
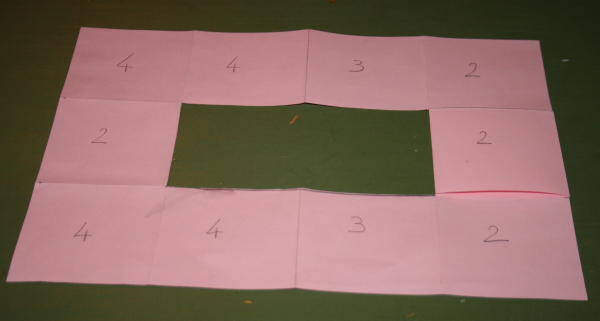
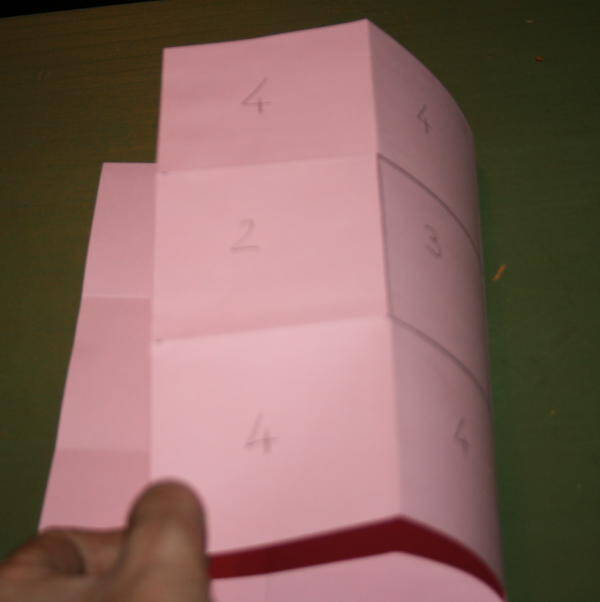
Chiudete il vostro flexagono piegando verso il centro il lato a sinistra una prima volta:
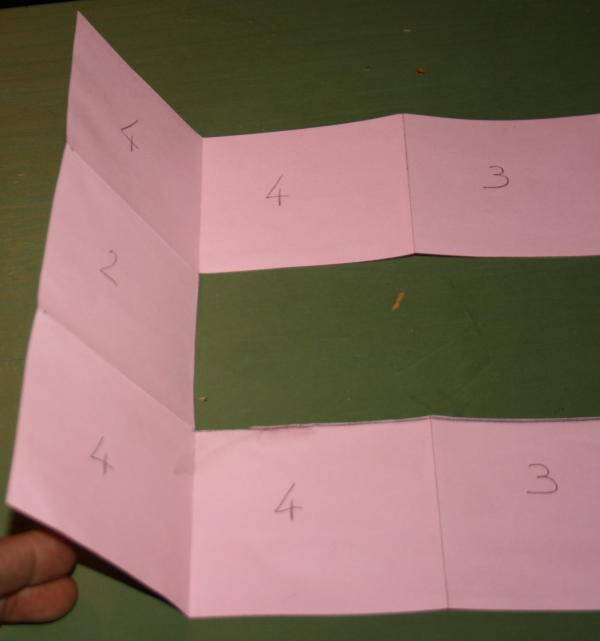
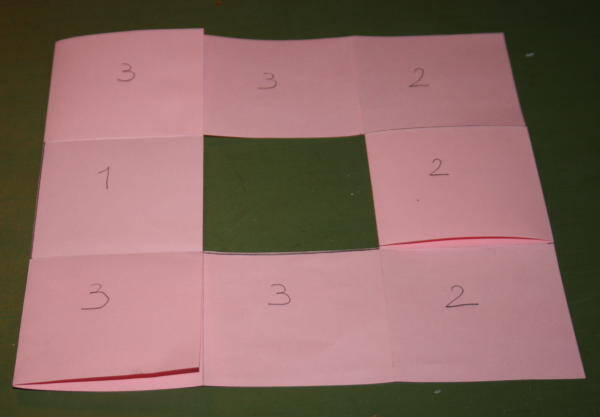
e poi una seconda:
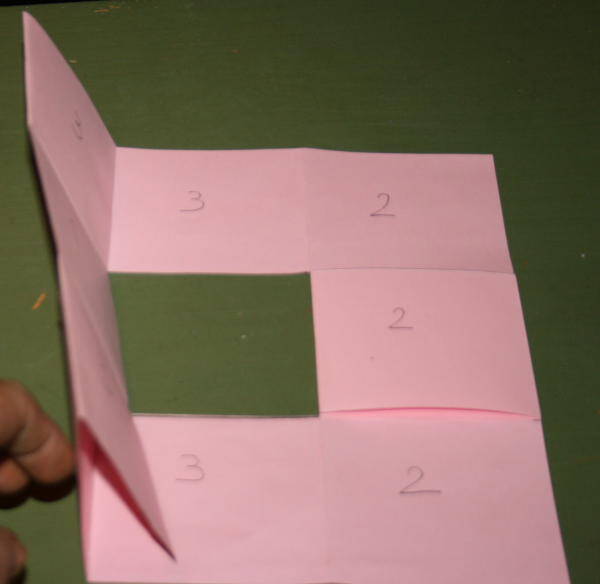
e il vostro flexagono è pronto.
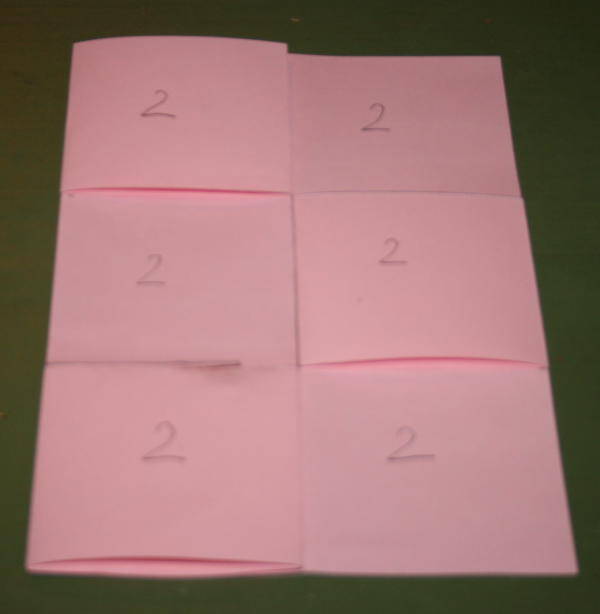
Ora non resta che divertirsi. Per sfogliarlo basta piegare il flexagono rivoltandolo
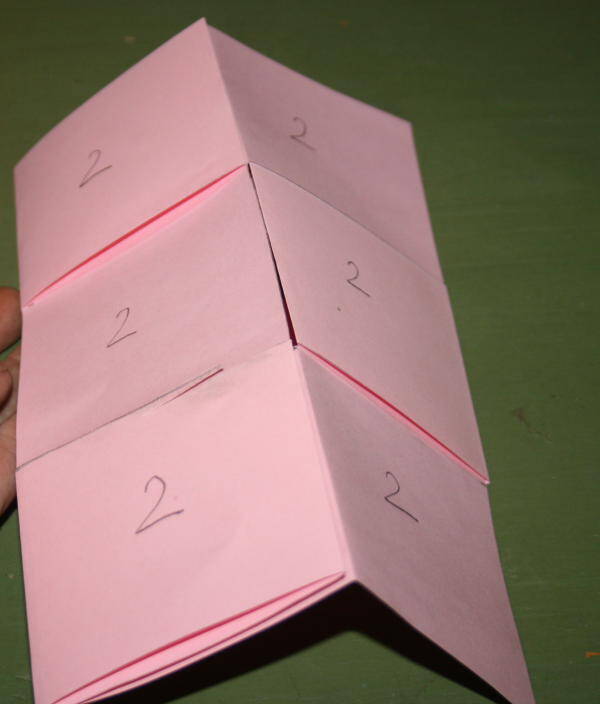
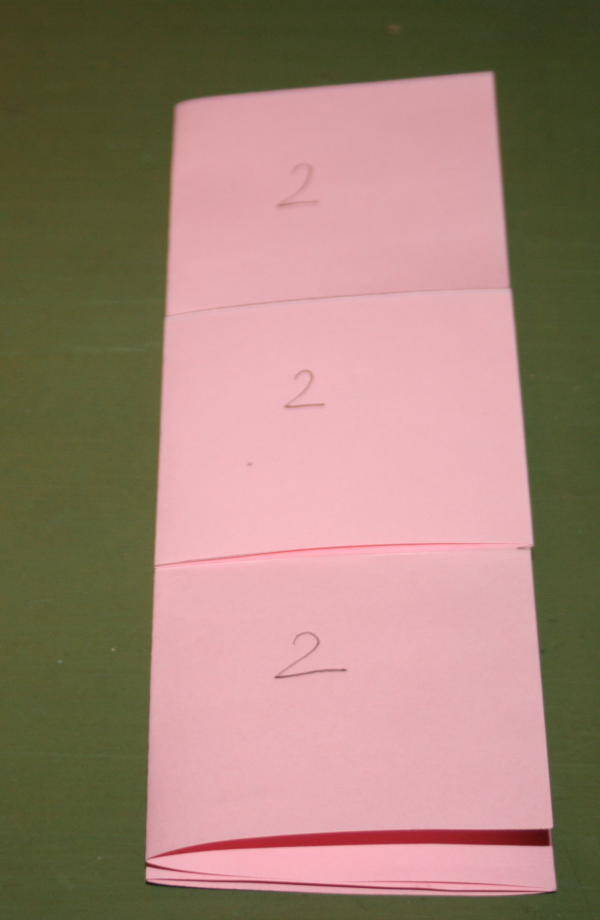
ed aprirlo in modo che compaia una nuova combinazione di quadrati, cioè una nuova pagina:
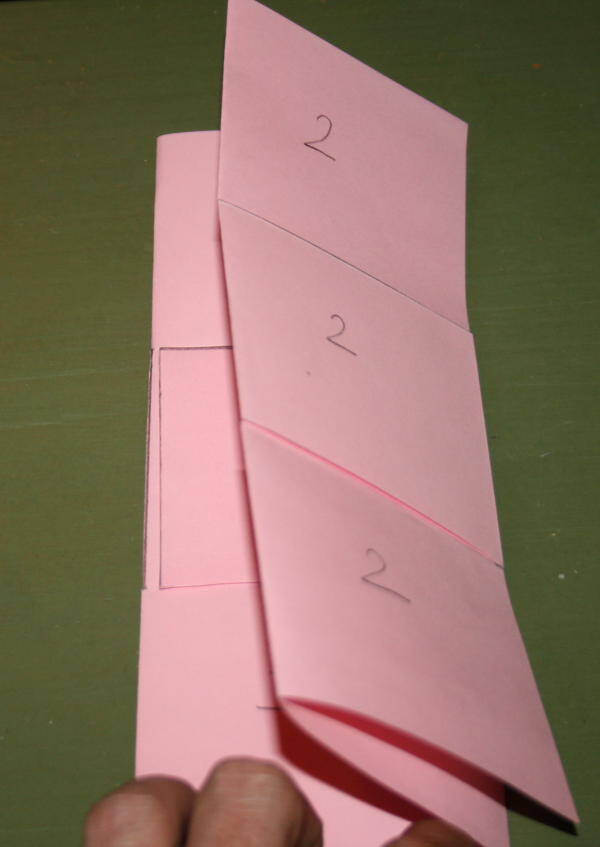
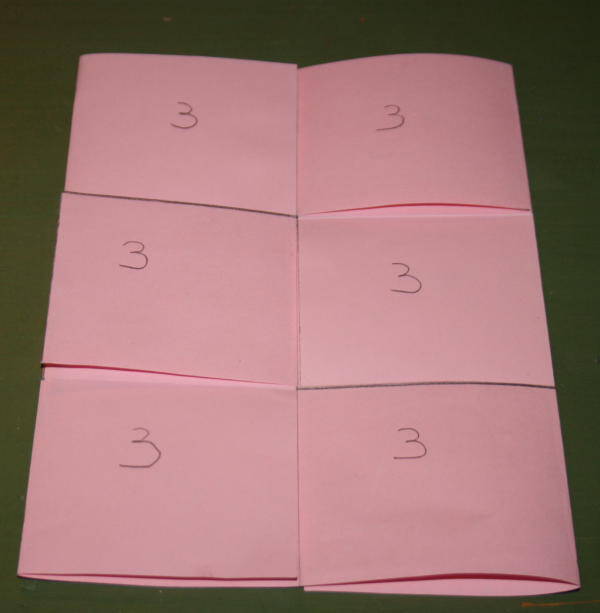
e ancora piegarlo, rigirarlo e riaprire:
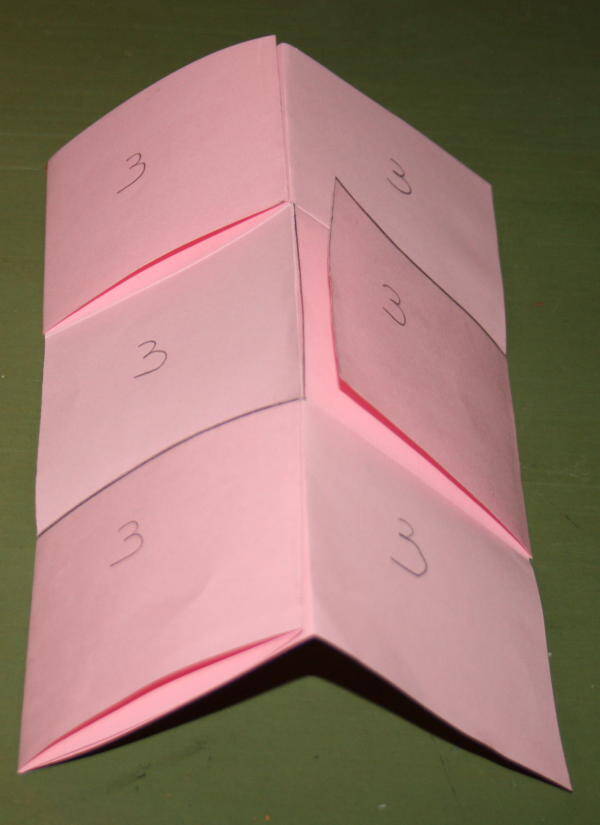
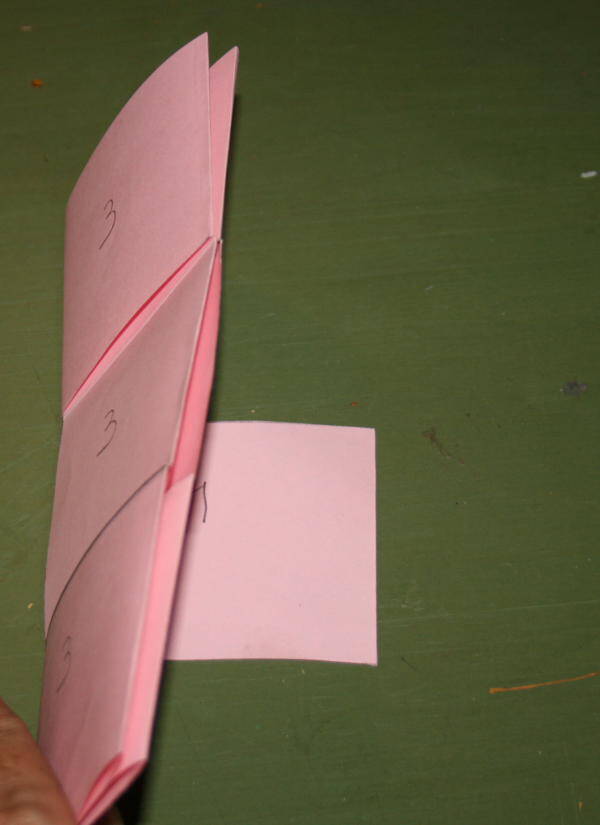
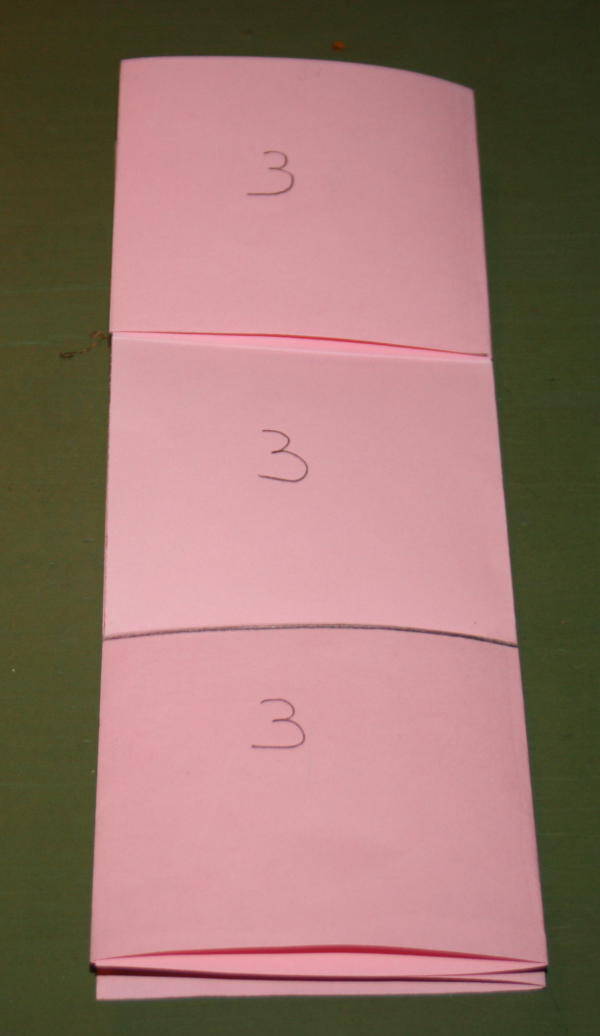
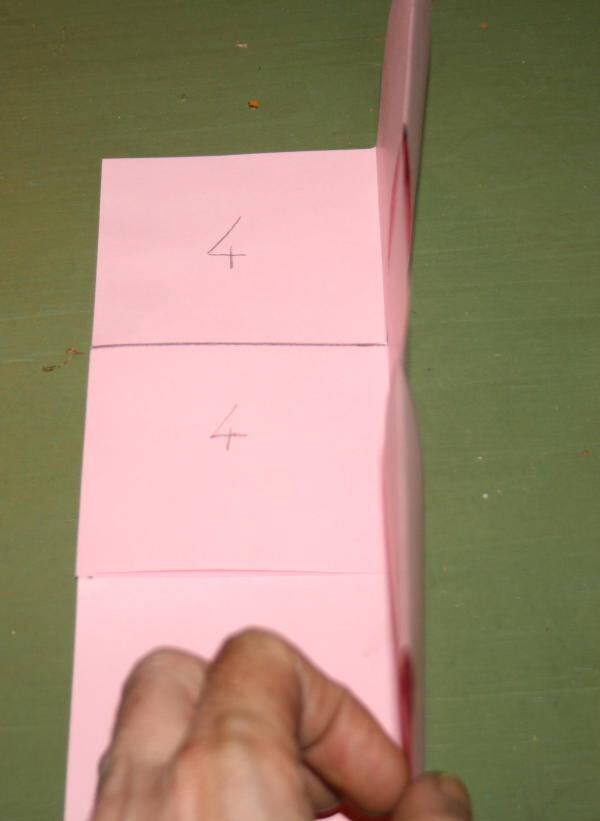
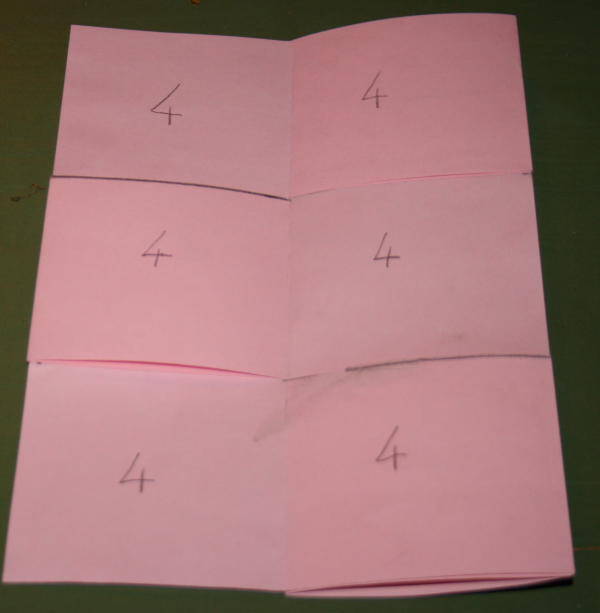
Per mostrare una possibile interpretazione del flexagono, ho ritagliato da una rivista quattro immagini (della misura di 6 quadrati, naturalmente). Le immagini saranno immagine 1, immagine 2, immagine 3 ed immagine 4:

Poi ai numeri ho aggiunto su ogni facciata una lettera che aiuti a collocare correttamente i frammenti di immagine, in modo che si componga come deve:
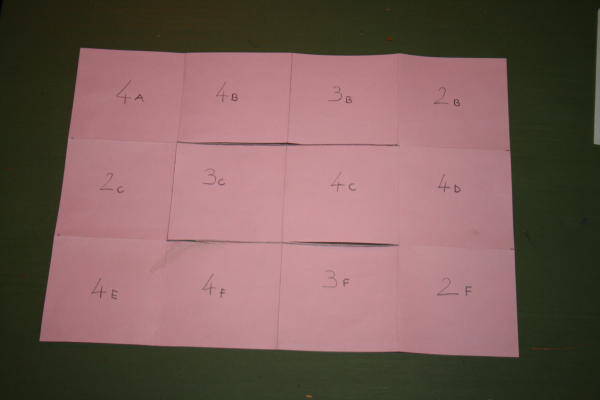
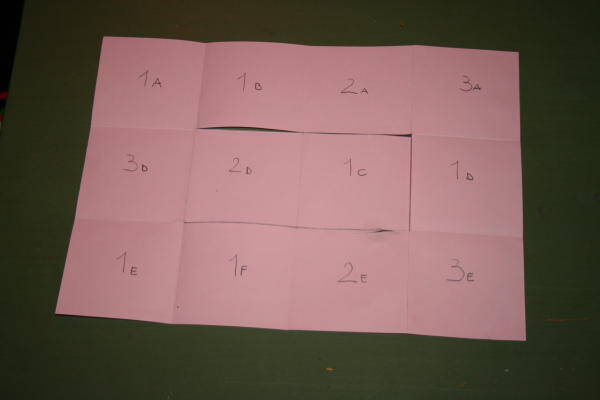
Il principio è questo:
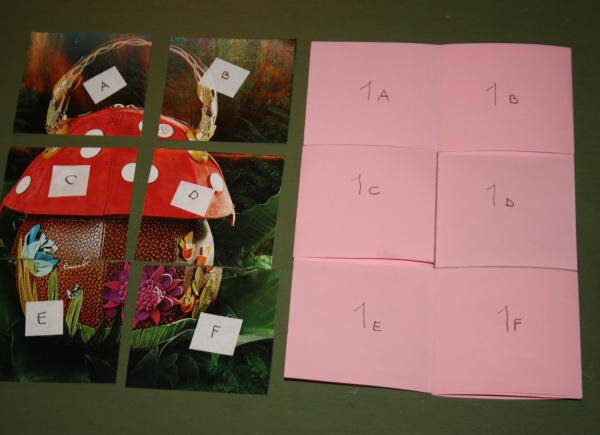
Ho aperto il flexagono, ho diviso ogni immagine in 6 quadretti e li ho incollati ai quadretti del flexagono corrispondenti, su entambe le facciate:
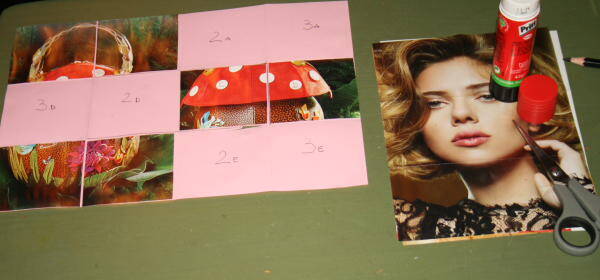
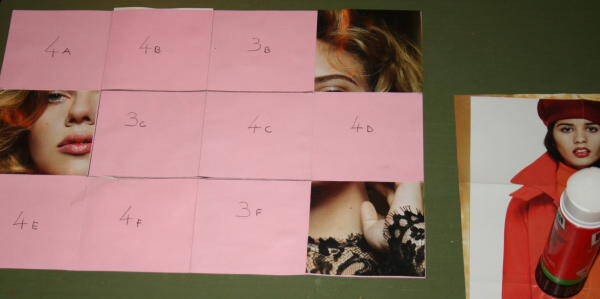
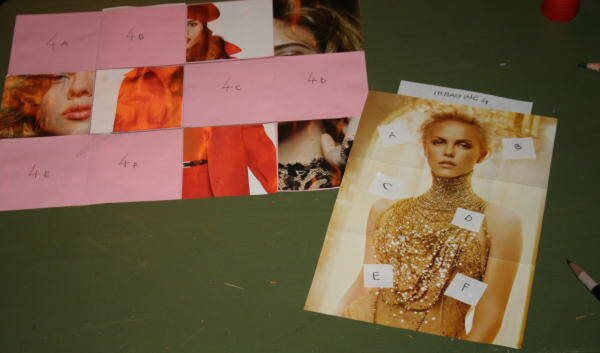
E ho richiuso il flexagono. Sfogliandolo questo è il risultato:


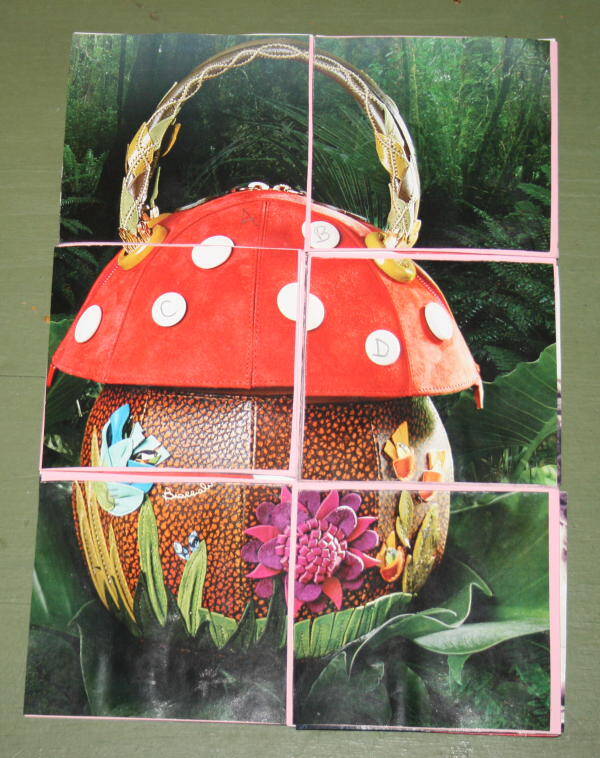
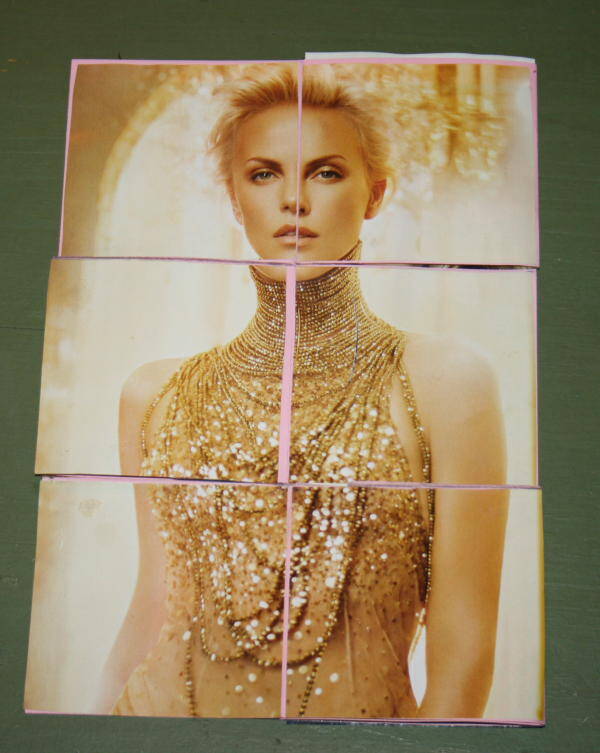
Naturalmente la pagina può essere costruita invece che con solo immagini, anche con testi e immagini…
Questo articolo fa parte dell’Album di Vita pratica:

Flexagon book tutorial. The flexagon is a fascinating object that you get through the paper folding, and that is likely to be interpreted as a puzzle book, which can contain both texts and images. Leafing through the flexagon see magically appear the hidden pages one at a time. A flexagon can be achieved in many ways, this is the first of tuturial on the topic.
Flexagon book tutorial
What do you need?
– A rectangular sheet of paper (I used a normal A4 sheet)
– Scissors or cutter
– pencil.
Flexagon book tutorial
What to do?
First divide the sheet into three parts through this horizontal folds:
and into four parts by means of vertical folds. You will have your sheet divided into 12 squares:

Numbered so the first side, and drawn with pencil sign you see in the image: it will be the path to follow for cutting:

Turn the sheet to be able to number the other side (take it and just turn it on the table so that the cutting line is present as in the picture):


And also numbered the second side, as shown here:

Cut along the line you have drawn:

Turn over the paper again (side one):

Take the flap cut:

and fold it like this:

Then fold it again under the sheet as follows:


Close your flexagon bending toward the center the left side a first time:


and then a second:

and your flexagon is ready.

Now it has to play. To browse just fold the flexagon turning it:


and open it so that it appears a new combination of square, that is, a new page:


and even bend it, turn it over and reopen:


To show a possible interpretation of flexagon, I cut out from a magazine four images (of the measure of the 6 squares, of course). The images will be image 1, image 2, image 3 and 4:

Then I added to the numbers on each side a letter that helps to properly place the image fragments, in order for it to be formed as must:


The principle is this:

I opened the flexagon, I split each image into 6 squares and glued them to the squares of the flexagon corresponding, on both sides:


And I closed the flexagon. Leafing through it, this is the result:


Of course, the page can be built rather than just images, also with text and pictures …

