Secondo tutorial per realizzare un flexagono interpretabile come libretto puzzle, questa volta con la possibilità di inserire 6 immagini o testi diversi.
Qui invece il tutorial per realizzare un flexagono a 4 immagini:
Materiale occorrente
un foglio quadrato
forbici
matita
Come si fa
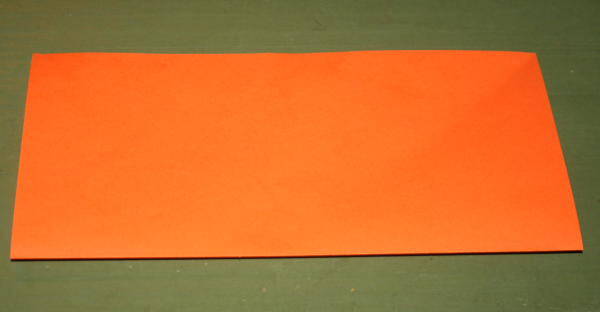
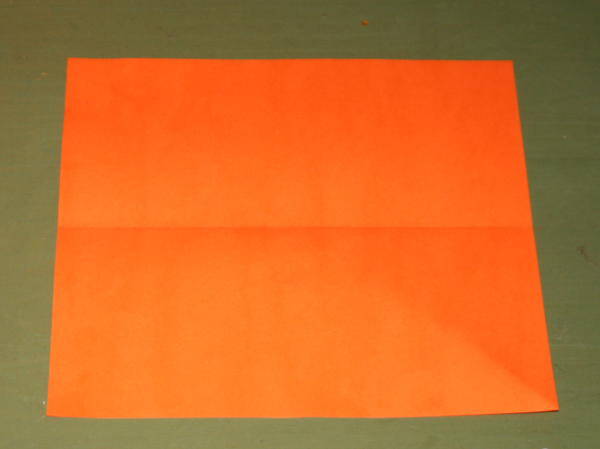
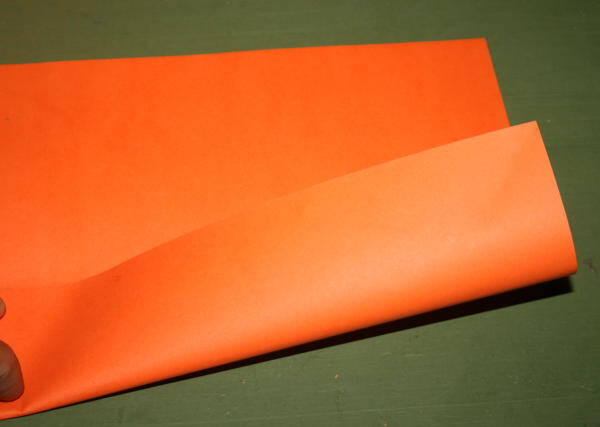
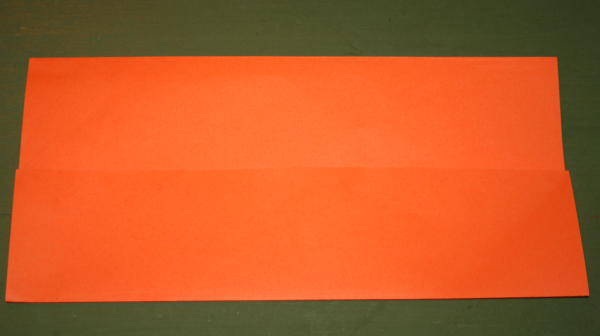
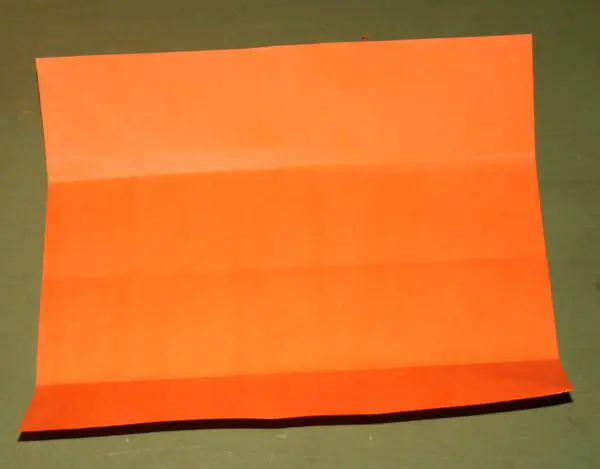
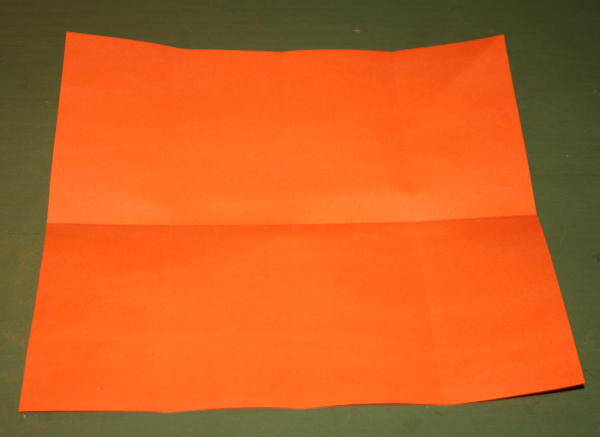
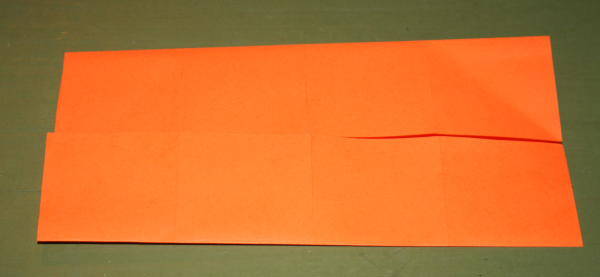
dividete il quadrato in sedici quadretti attraverso varie piegature, così:
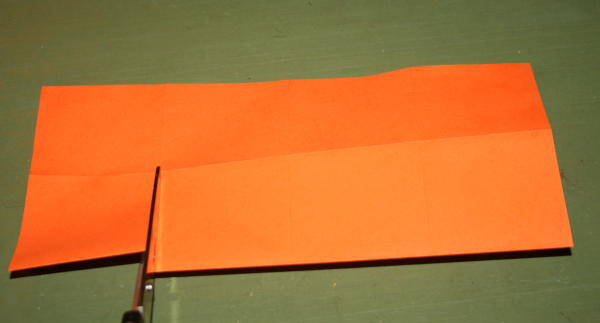
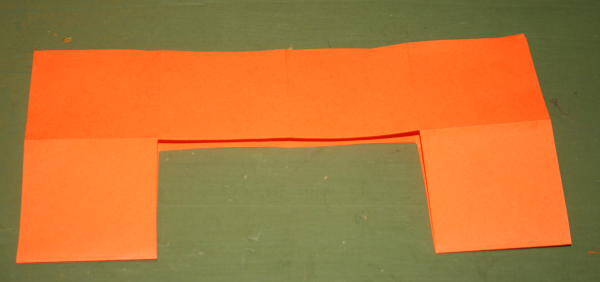
Poi eliminate i 4 quadretti centrali:
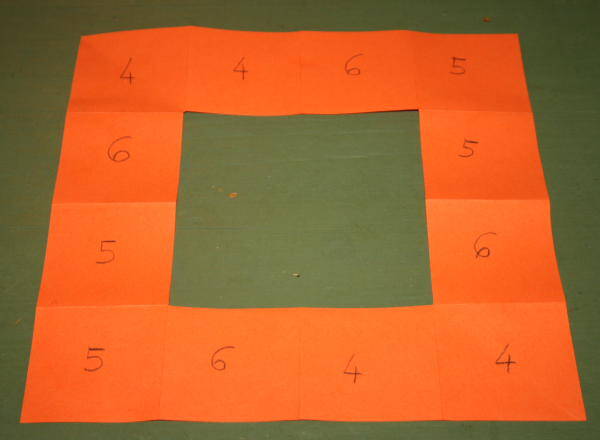
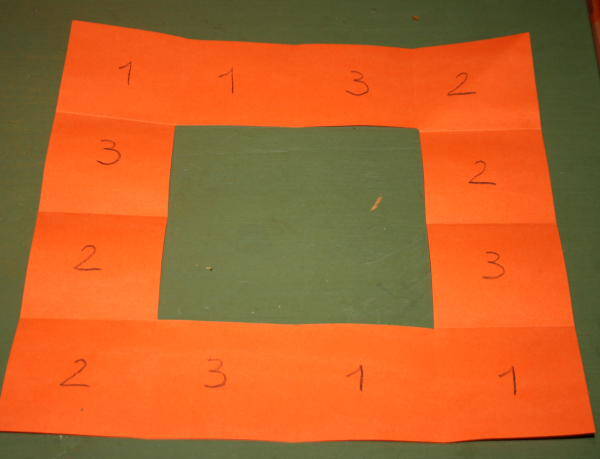
E numerate così la facciata uno:
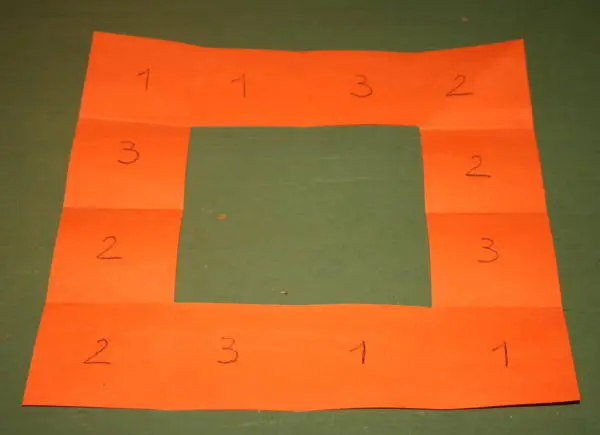
E così la facciata due:
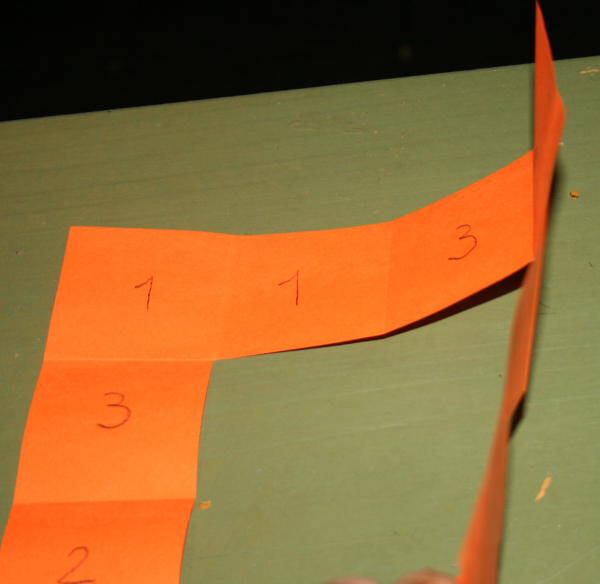
Poi rigirate nuovamente sulla facciata uno:
Iniziate a piegare così: prima il lato in alto:
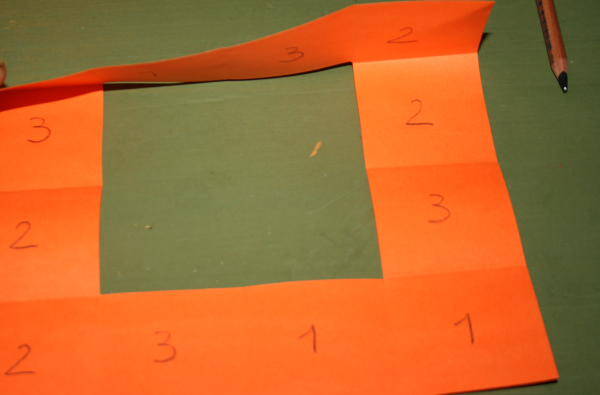
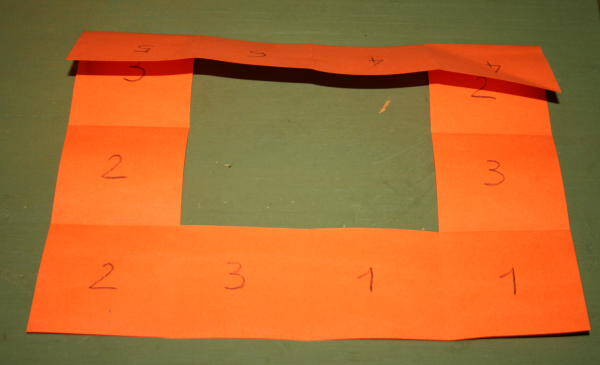
Poi il lato a destra:
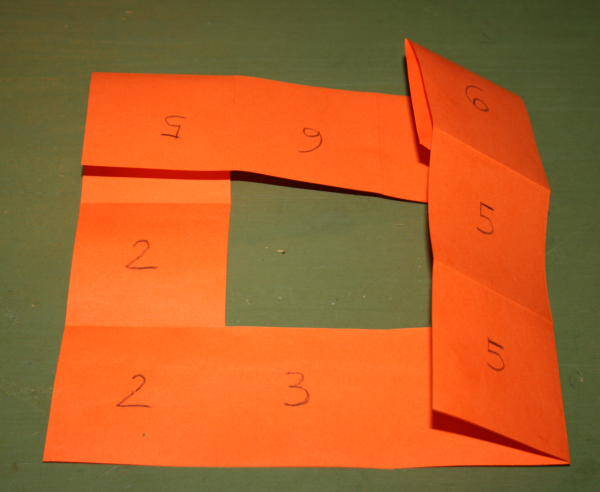
Poi il lato in basso:
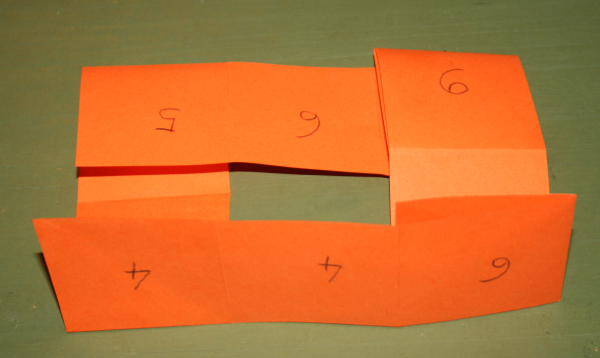
e infine il lato a sinistra:
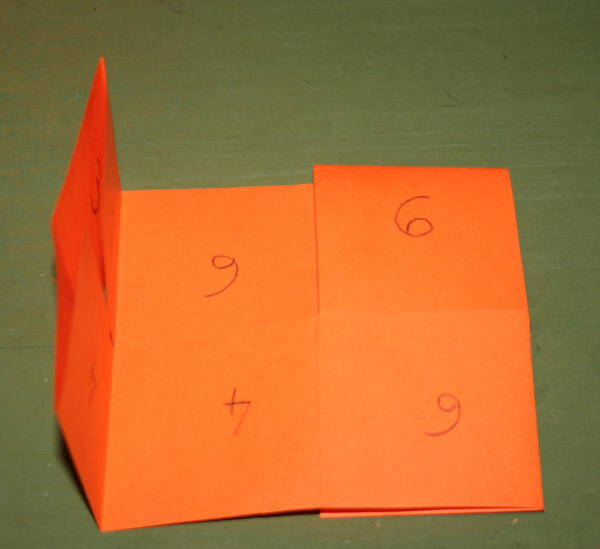
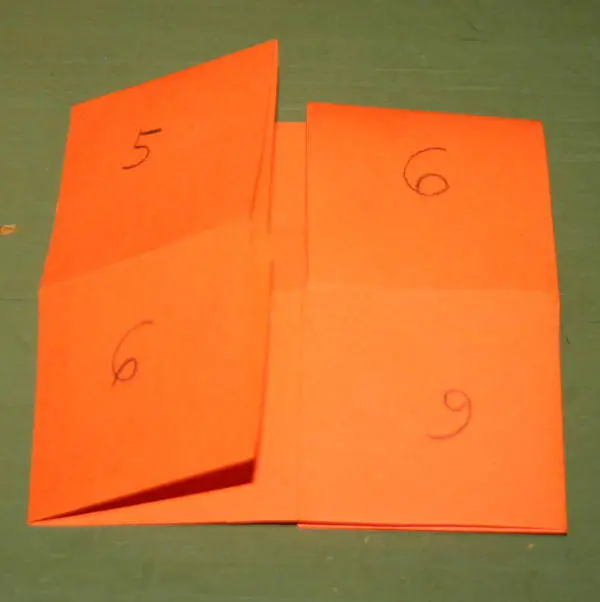
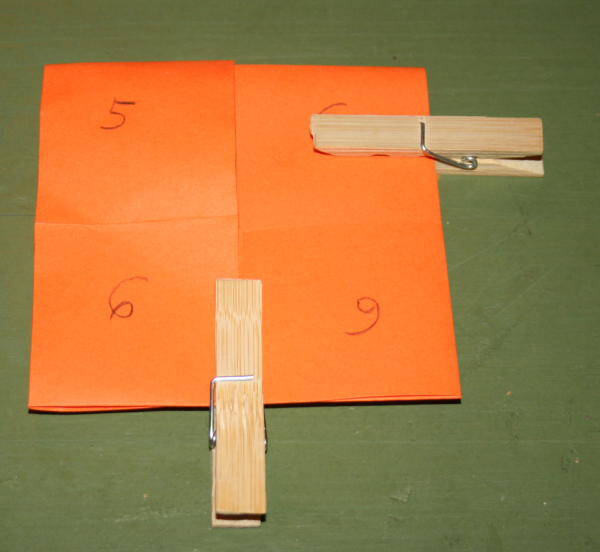
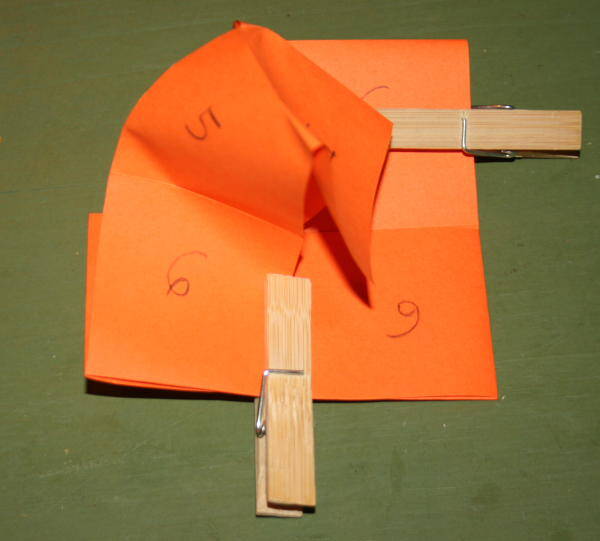
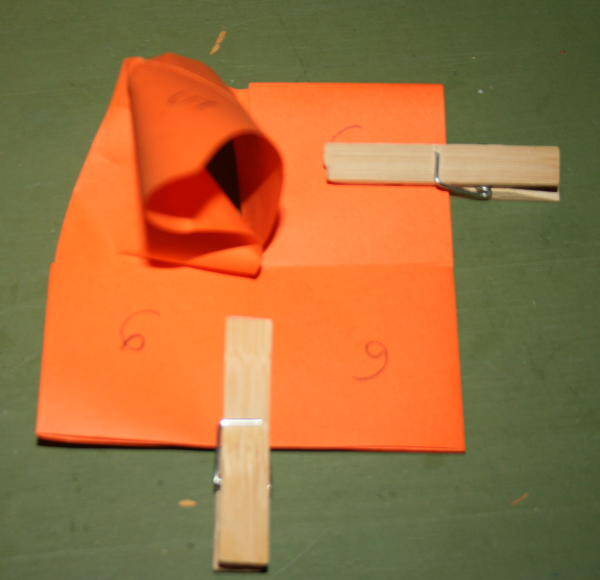
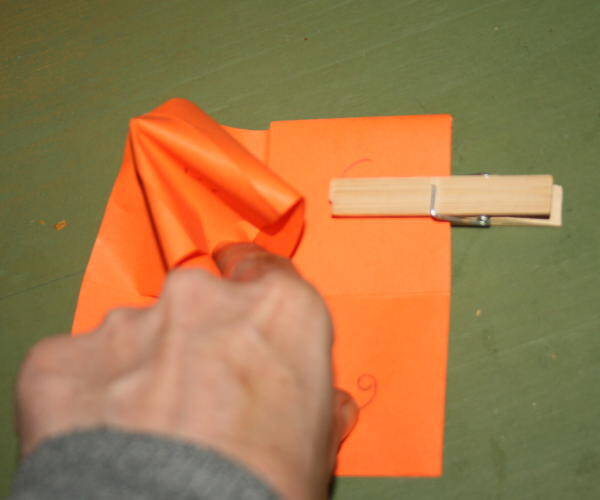
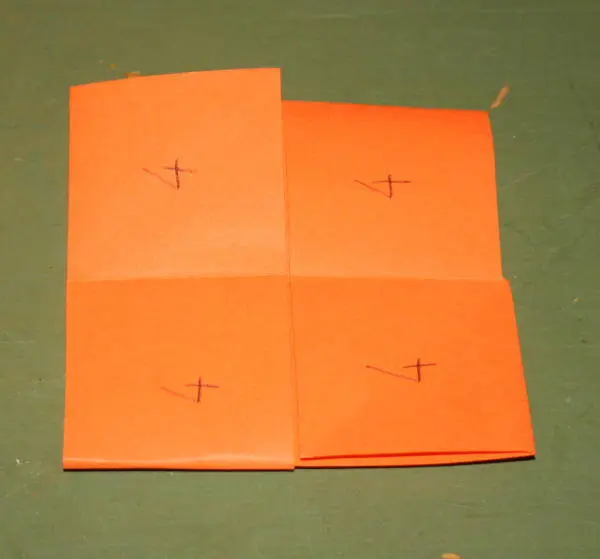
Ora fermate con delle mollette il lato a destra e quello in basso, lasciando liberi i quadratini in alto a sinistra, che vanno ribaltati in questo modo:
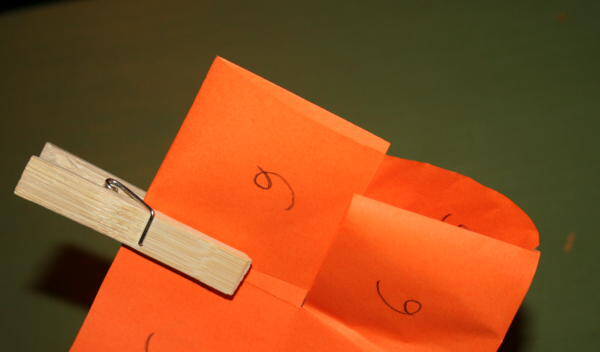
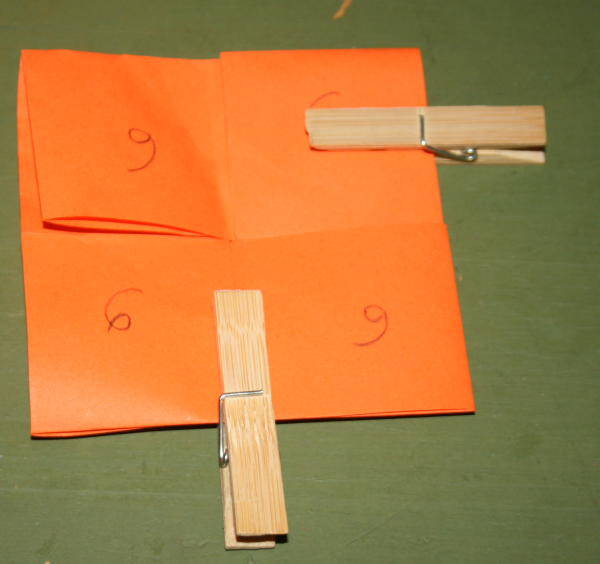
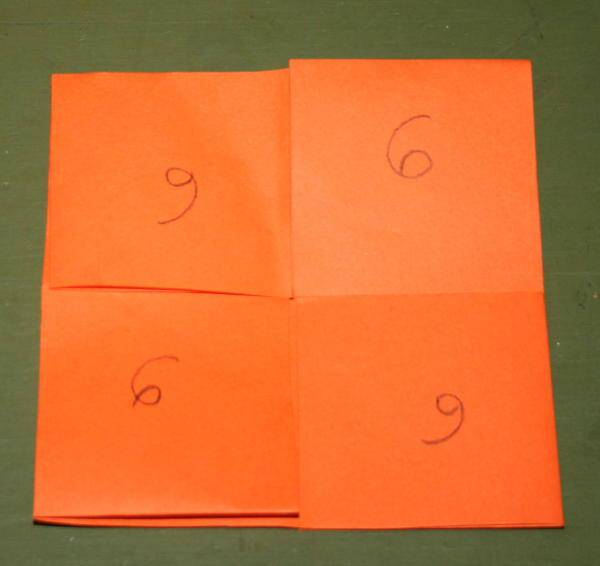
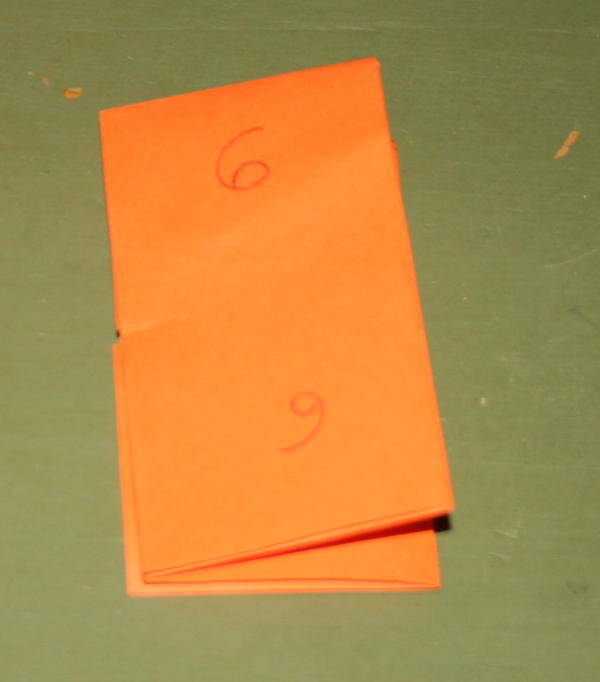
Il flexagono è pronto per essere sfogliato; basta piegarlo a metà, rigirarlo tra le mani, e riaprirlo:
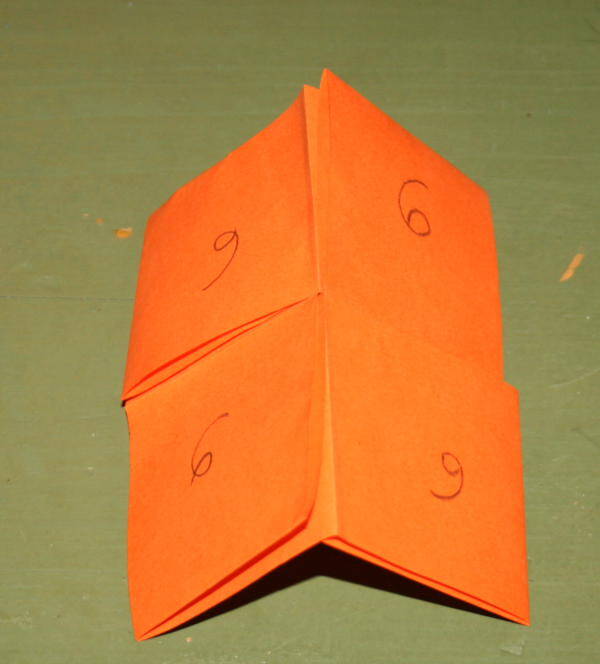
Se vogliamo inserire testi o immagini, dobbiamo seguire questo schema, incollando alcuni quadratini “a testa in giù”:
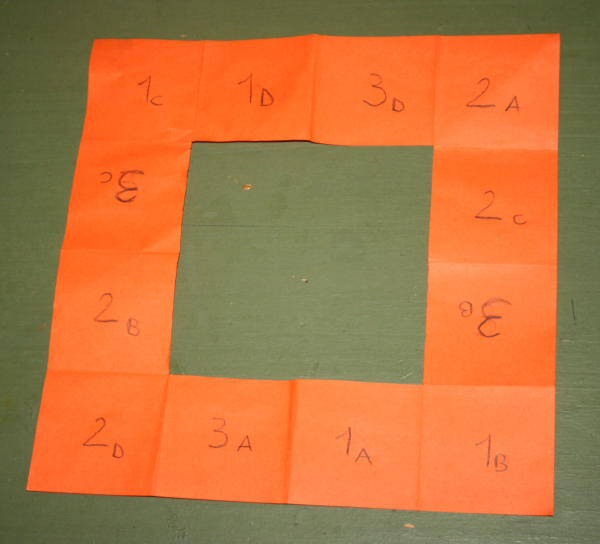
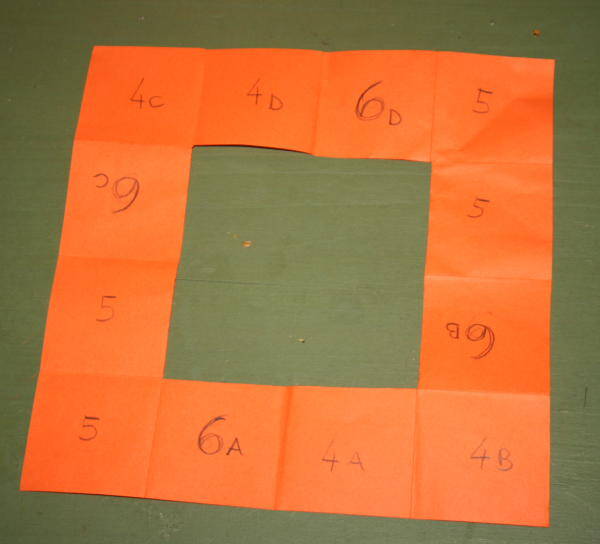
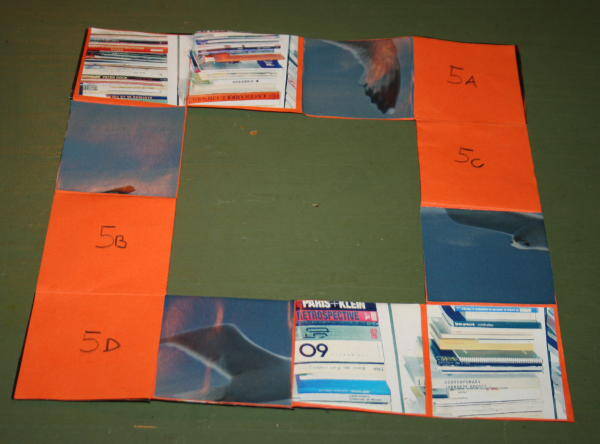
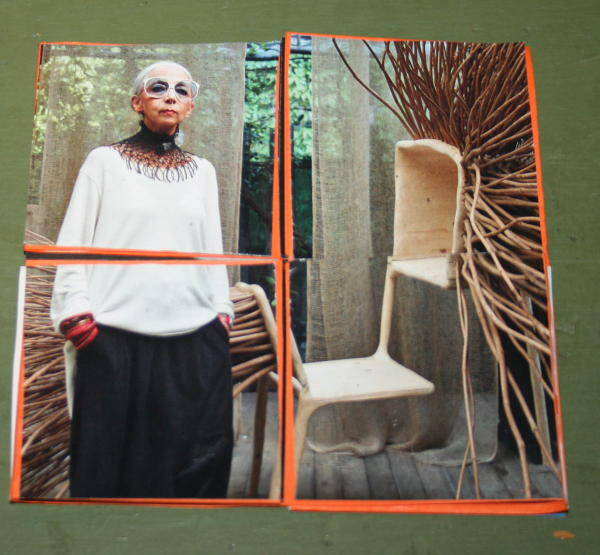
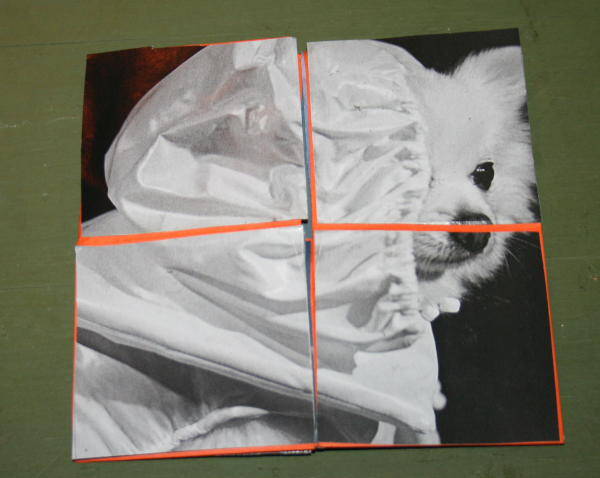
Per mostrare il meccanismo ho ritagliato alcune immagini da una rivista:
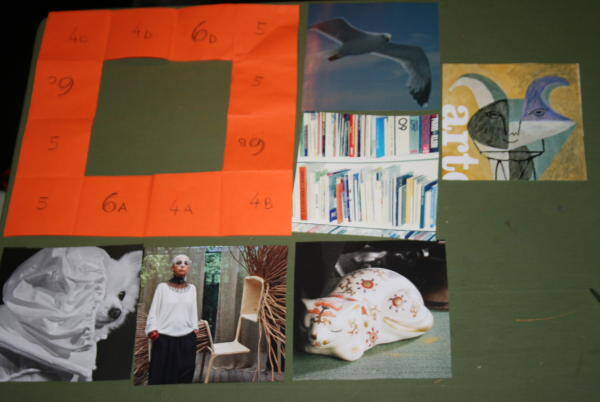
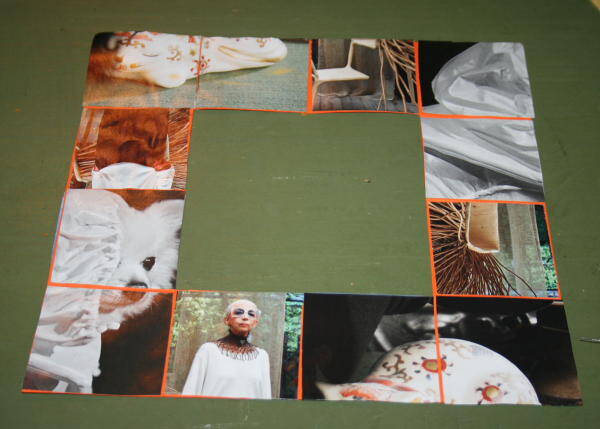
Scegliete 6 immagini o testi della grandezza di 4 quadretti del flexagono, e di dividetele in quattro; incollatele al flexagono seguendo le indicazioni scritte a matita:
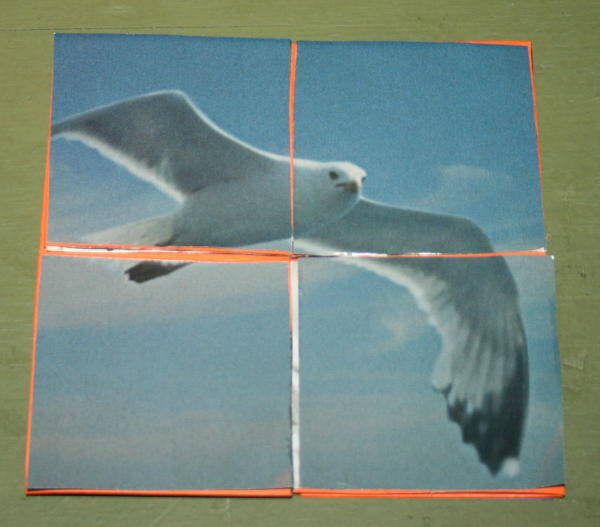
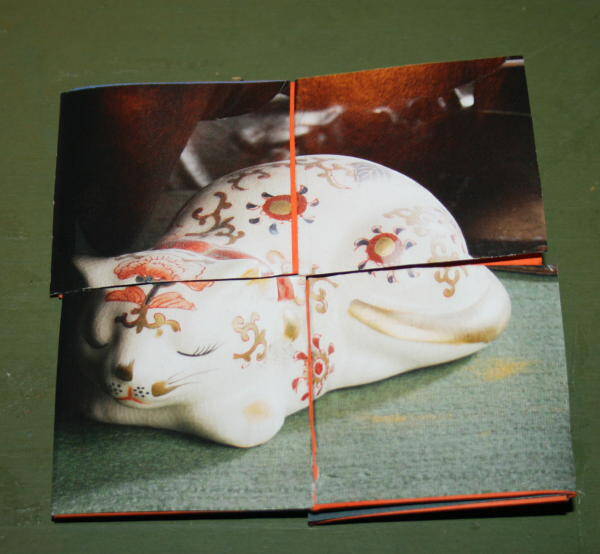
Richiudete nuovamente il vostro flexagono e sfogliatelo:
Questo articolo fa parte dell’Album di Vita pratica:

Flexagon puzzle book at 6 figures. Second tutorial to make a flexagon interpretable as a puzzle book, this time with the possibility to insert 6 different texts or images. Here instead the tutorial to make a flexagono at 4 images.
Flexagon puzzle book at 6 figures
What do you need?
a square sheet
scissors
pencil
Flexagon puzzle book at 6 figures
What to do?
Divide the square into sixteen squares through various folds, so:


Then remove the four central squares:


And numbered side one like this:

And so the front two:


Then turned over again on one facade:

Started to bend like this: first the side at the top:


Then the side to right:

Then the bottom side:

and finally the left-hand side:


Now stops with clothespins the right-hand side and one at the bottom, leaving free the squares at the top left, which must be tipped in this way:


The flexagon is ready to be browsed; just fold it in half, turn it over in his hands, and reopen it:


If you want to add text or graphics, we have to follow this pattern, pasting some squares “upside down”:


To show the mechanism I cut out some pictures from a magazine:


Select 6 images or text on the size of 4 squares of the flexagon, and divide them into four; glue them to flexagon following directions written in pencil:
Close again your flexagon and browse it:


