Lanterna di cartapesta su palloncino: una lanterna semplicissima da realizzare e di grande effetto. Il progetto è adatto anche ai più piccoli.
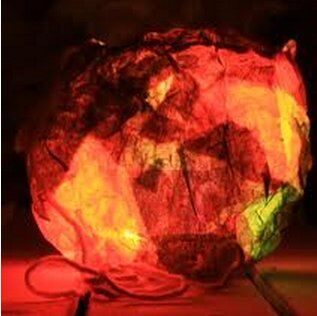
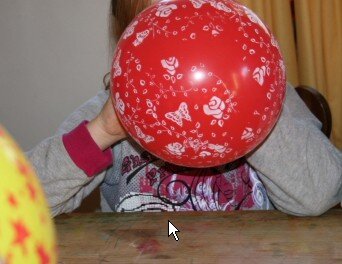
Per realizzare questa lanterna gonfiamo il palloncino,
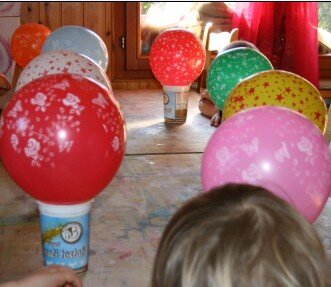
poi lo fissiamo con due pezzetti di nastro adesivo a un barattolo di yogurt. Per fare un po’ di peso possiamo mettere nel barattolo un sasso preso in giardino.
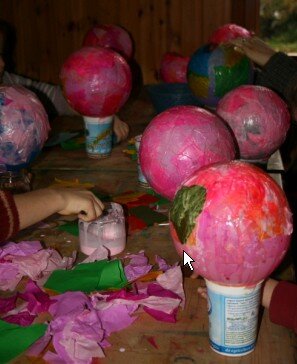
Poi strappiamo i fogli di carta velina colorata e prepariamo dei vasetti di colla vinilica molto diluita, e cominciamo ad attaccare i pezzetti di velina sul palloncino.
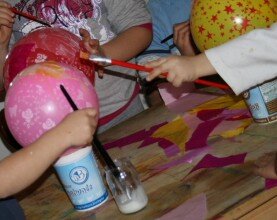
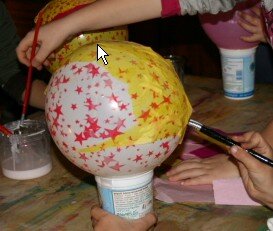
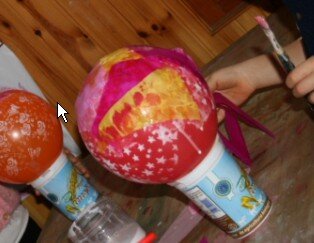
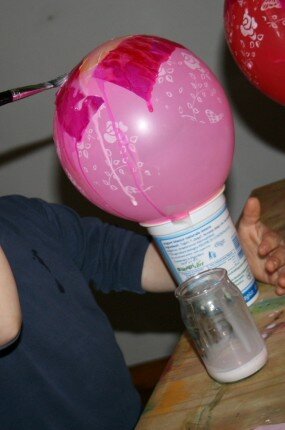
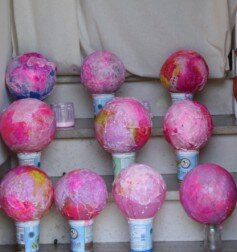
Dopo aver applicato vari strati di carta, quando il tutto sarà ben asciugato, bucheremo i palloncini e la lanterna sarà pronta per essere ammirata: con un po’ di cera che cola dalla candela accesa, fissate sul fondo il lumino.
Il progetto, soprattutto coi bambini più piccoli, va condotto nell’arco di più giorni; se vogliamo che sia pronta per la festa delle lanterne di san Martino dovremo impostarlo con un certo anticipo…
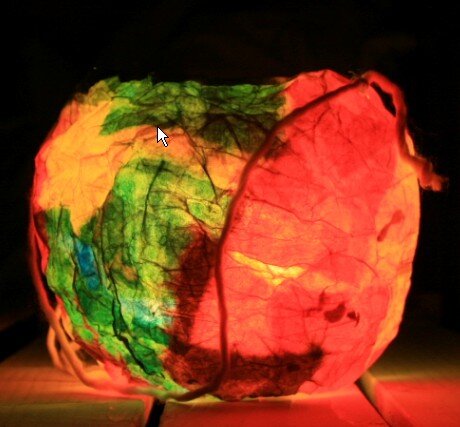


Paper mache lantern tutorial on balloon: a lantern simple to make and very effective. The project is also suitable for the little ones.

Paper mache lantern tutorial
What do you need?
a balloon
colored tissue paper
white glue
water
a brush
a jar of glass or plastic
a stone
masking tape
a tealight.

Paper mache lantern tutorial
What to do?
To do this lantern inflate the balloon,

then we fix it with two pieces of masking tape on the jar. To make weight we can put into the jar a stone taken in the garden.

Then tear off the sheets of colored tissue paper and prepare the jars of white glue very diluted with water, and begin to attack the pieces of tissue on the balloon, with the brush.


After applying several layers of paper, when all will be well dried, puncture the balloons and the lantern will be ready to be admired: with a bit wax dripping from the candle lit, laid on the bottom the tealight.
The project, especially with younger children, it should be conducted over several days; if you want it to be ready for the Lantern Festival of Saint Martin we’ll set it well in advance …


