Lavoretti con la carta – Tessitura con strisce di carta. E’ una delle prime esperienze di tessitura che i bambini possono fare, a partire dai tre – quattro anni.
La tessitura affonda le sue radici nella pratica del fare i cesti ed è un lavoro antichissimo. L’uomo ha imparato a tessere nell’Età della Pietra: a partire dalle fibre ottenute dalla pianta del lino, era in grado di realizzare tessuti. Sulla tessitura del lino sono stati rinvenuti reperti risalenti al 4400 aC in Egitto. Intorno al 1800 aC i Cinesi avevano sviluppato sistemi già molto raffinati per tessere la seta. Circa nello stesso periodo in India si iniziò l’utilizzo della pianta del cotone. Non appena l’uomo imparò a realizzare tessuti, nacque in lui l’esigenza di renderli anche belli.
La tessitura consiste nel posizionare un gruppo di fibre in file longitudinali molto vicine tra loro. Altri fili vengono poi inseriti trasversalmente, con un andamento sopra-sotto. I primi tessitori fissavano i fili longitudinali ad una cornice di legno, e quindi inserivano quelli trasversali con una navetta di legno, molto simile ad un grande ago. Le persone producevano la stoffa che serviva per i bisogni della famiglia in casa.
La tessitura è un’esperienza che possiamo portare ai bambini a partire dai 4 anni di età. Possiamo raccontare ai bambini da dove vengono i nostri abiti, mostrare immagini di abiti del passato e raccontare anche come erano tessuti. Poi si possono mostrare materiali diversi come la lana, la seta, il cotone, e diversi tipi di tessuto, provenienti possibilmente da varie parti del mondo.
Una delle mete del piano di studi montessoriano è ampliare le conoscenze dei bambini e fare in modo che comprendano come gli uomini abbiamo imparato a soddisfare le proprie necessità di base nel tempo ed in culture diverse.
Tutte le volte che ci apprestiamo ad insegnare una nuova attività, cominciamo nel modo più semplice possibile. Quando le abilità relative si sono sviluppate, allora possiamo condurre il bambino verso esecuzioni più raffinate e complesse.
Per la tessitura coi bambini possiamo utilizzare carta, vimini, rafia, nastri, strisce di stoffa, carta crespa, erbe, fiori, bucce di mais, cordicelle, ecc…
Lavoretti con la carta – Tessitura con strisce di carta – MATERIALE OCCORRENTE
– una base di cartoncino abbastanza rigido
– carta resistente (noi l’abbiamo prodotta con la tecnica della pittura a colla; trovi il tutorial qui
– forbici
– cucitrice
Lavoretti con la carta – Tessitura con strisce di carta – COME SI FA
A seconda dell’età e delle abilità del bambino, potete preparare voi le strisce di carta, oppure pieghettare i fogli e far tagliare le strisce al bambino stesso, che dovrà seguire con le forbici le pieghe fatte.
Si procede poi, insieme al bambino, a spillare le strisce verticali sul bordo superiore del cartoncino:
Fatto questo mostriamo al bambino, facendolo partecipare al lavoro, come le strisce di carta orizzontali si inseriscono una volta sopra ed una volta sotto le strisce verticali.
Coi bambini più piccoli un’attività interessante è quella di sollevare e piegare indietro le strisce (una sì e una no), appoggiare semplicemente la striscia orizzontale, quindi abbassarle e sollevare le strisce che prima erano abbassate:
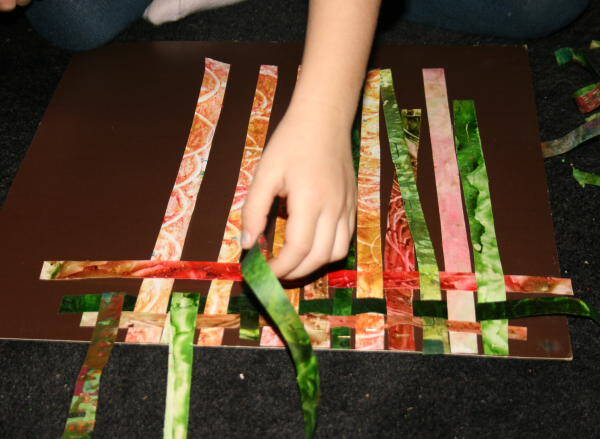
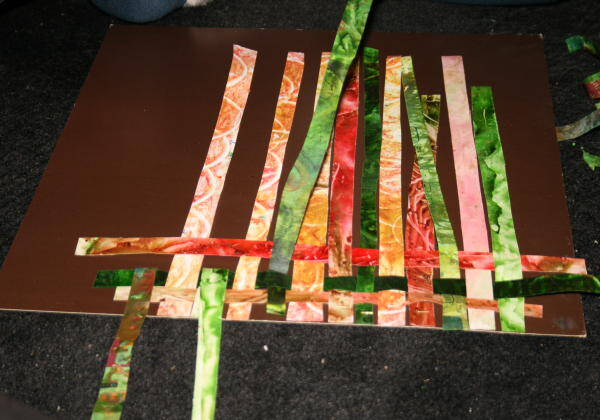
Pinziamo via via le strisce orizzontali che abbiamo usato per illustrare il lavoro al bambino:
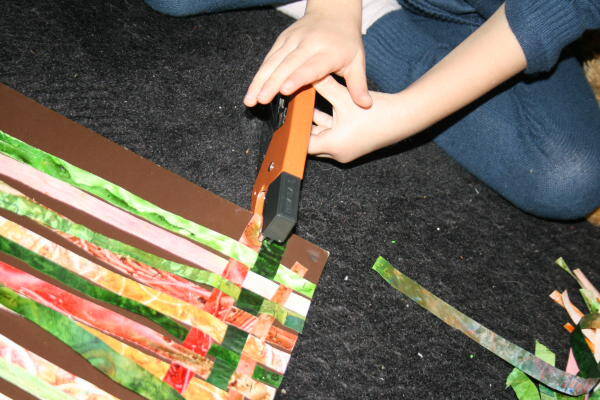
Quando il bambino ha capito, possiamo pinzare solo sul bordo a sinistra tutte le strisce orizzontali:
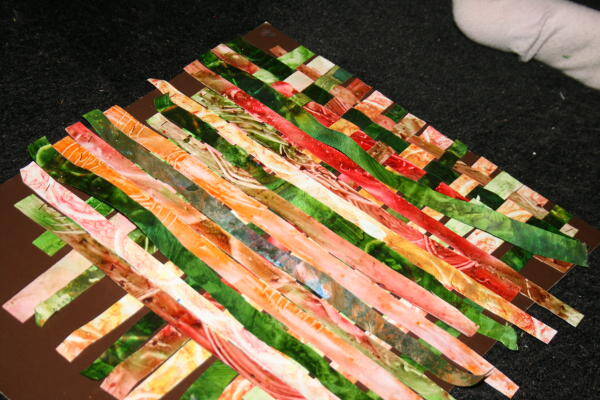
e piegarle tutte verso l’esterno:
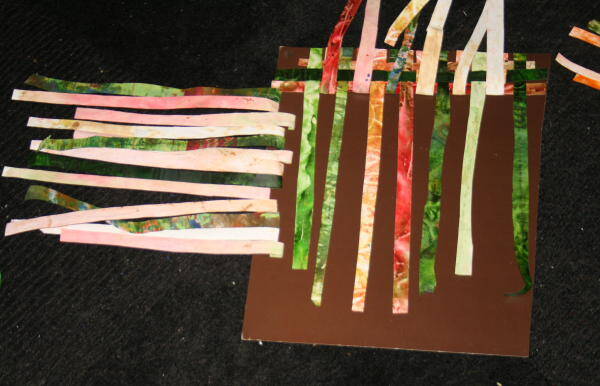
Ora il bambino potrà prenderne una alla volta e procedere alla tessitura in autonomia:
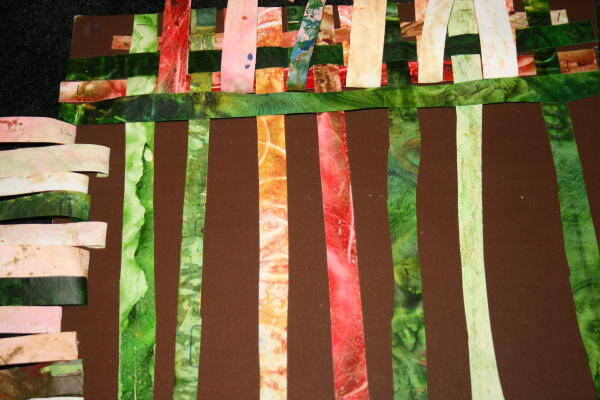
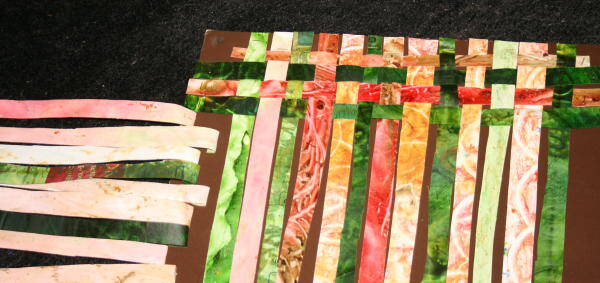
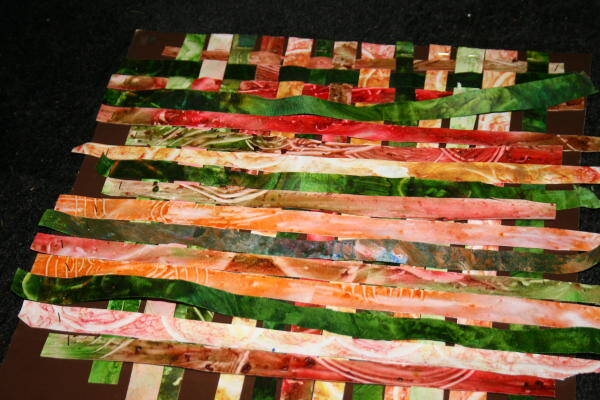
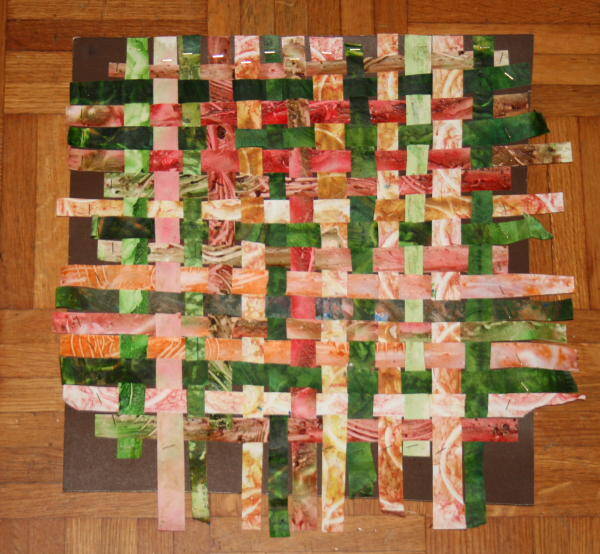
Ed ecco il lavoro ultimato:
Questo articolo fa parte dell’Album di Vita pratica:

Weaving with paper strips tutorial . It is one of the first experiences of weaving that kids can do, from three years.
Weaving is rooted in the practice of making baskets and is an ancient work. Man has learned to weave in the Stone Age: starting from fibers obtained from the flax plant, was able to produce fabrics. On linen weaving artifacts have been unearthed dating back to 4400 BC in Egypt. Around 1800 BC, the Chinese had already developed very sophisticated systems for silk weaving. Around the same time in India began the use of the cotton plant. As soon as man learned to make textiles, he was born in him the need to make them even beautiful.
The weaving consists in positioning a group of fibers in longitudinal rows very close together. Other threads are then inserted transversely, with a trend over-under. Early weavers staring the longitudinal threads to a frame of wood, and then put the transversal ones with a shuttle of wood, very similar to a large needle. The people producing the cloth that was used for the needs of the family at home.
Weaving is an experience that we can carry to children from 3 years of age. We can tell children where they come from our clothes, show images of clothes of the past and also tell how they were woven. Then show different materials like wool, silk, cotton, and various types of tissue, possibly coming from various parts of the world.
One of the goals of the Montessori curriculum is to broaden the knowledge of children and make sure they understand how men have learned to meet their basic needs over time and in different cultures.
Whenever we prepare to teach a new task, we begin in the simplest way possible. When the related skills have developed, then we can lead the child to executions more sophisticated and complex.
For weaving with children can use paper, wicker, raffia, ribbons, strips of cloth, crepe paper, grasses, flowers, corn husks, cords, etc …

Weaving with paper strips tutorial
What do you need?
– A base of cardboard stiff enough
– Resistant paper (we made it with the technique of painting with glue, you can find the tutorial here:
– scissors
– stapler
Weaving with paper strips tutorial
What to do?
Depending on the age and abilities of the child, you can prepare the strips of paper, or pleat sheets and to cut the strips to the child itself, which must follow the folds made with scissors.
Then proceed, together with the child, to fix the vertical stripes on the top edge of the card:

Did this show to the child, making him participate in the work, such as horizontal strips of paper are placed once above and once below the vertical stripes.
With younger children an interesting activity is to raise and fold back the strips (one yes and one not), simply place the strip horizontally, then pull it down and lift the strips that were lowered:


we fix with a stapler gradually horizontal stripes that we used to illustrate the work to the child:

When the child has understood, we can help him staring at the edge left all horizontal stripes:


and fold them all to the outside:

Now the child can take them one at a time and proceed to weaving independently:


And here is the finished work:


