DIY Montessori Color Tablets – It is wooden tablets which have to the sides two edges longer and larger. These margins allow the child to manipulate the tables without touching the colored part. Each table measure 8cm x 5cm around. Build them on their own is not difficult, and there are various possibilities.
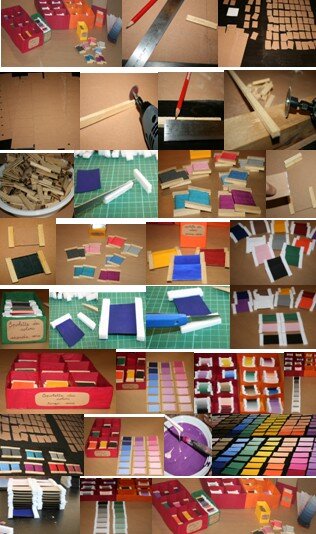
To learn about their history, purpose, recommended age, presentations to children etc … you can read here: Montessori Color Tablets.
DIY Montessori Color Tablets
Required materials
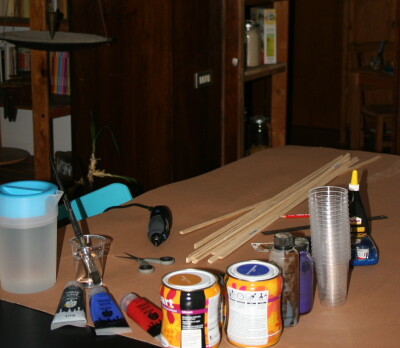
– For the frames: wooden chopsticks 1cm wide, approximately 0.5 cm high. As an alternative polystyrene (those used for covering countertops)
– For tablets: a sheet of sturdy cardboard (alternatively expensive thin plywood), ruler and pencil;
– Color (tempera or acrylic): red, yellow, blue, green, orange, black, pink, purple, brown and especially white; water and brushes. As an alternative embroidery thread in various colors.
– cutter, scissors, a saw (manual or electric), kitchen knife
– Quick-setting glue
_________________________
For all models
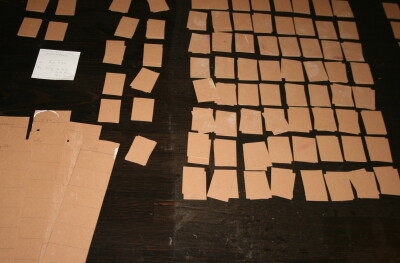
Cut from a nice sturdy cardboard rectangles 6cm x 4cm.
With cardboard that advances you can prepare some perforated strips, so … in this way in addition to the tablets, you’ll also have a beautiful material for hunting colors in the environment:
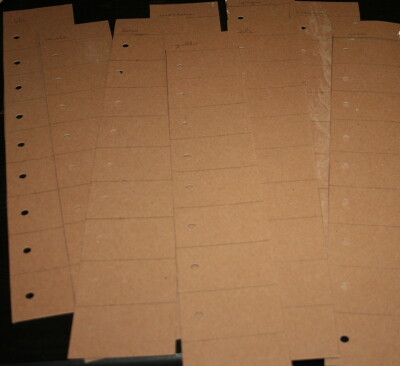
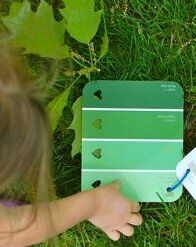
http://www.frugalfamilyfunblog.com/
_____________________
External frames (wood or polystyrene)
For exterior wood Frames, first engrave along the clapboard the canal that will serve for the joint of the cardboard, then cut small pieces 5 cm long:
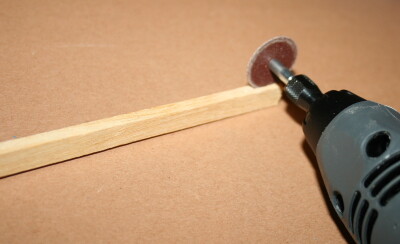
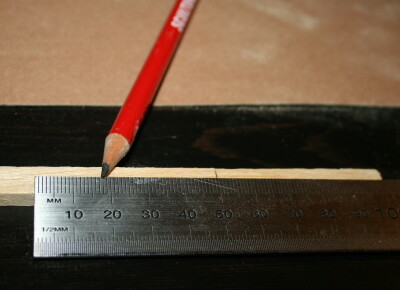

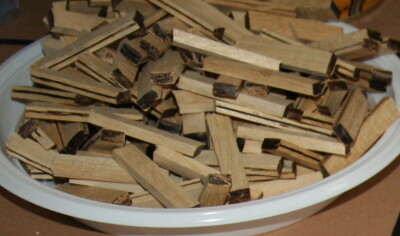
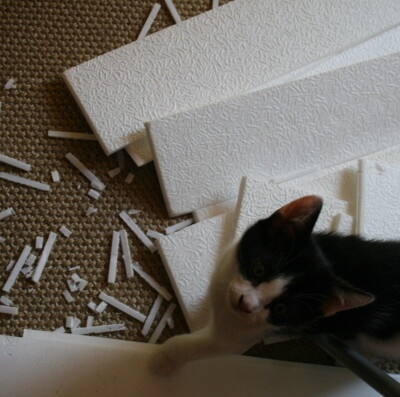
For polystyrene frames, get those squares that serve to realize the countertops: the material cutting very easily, and it is still a certain compactness (as well as pleasure to cats):
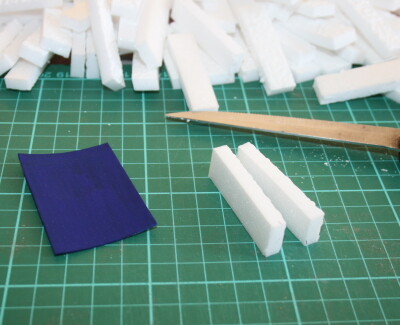
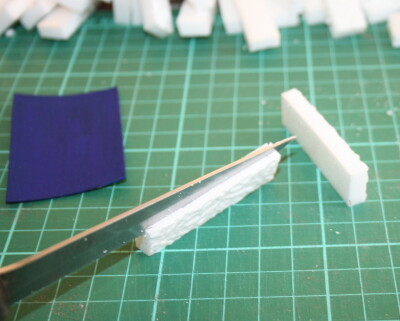
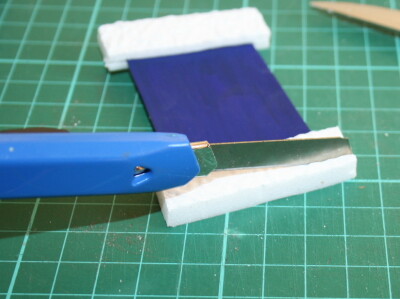
First cut the strips with a cutter (about 1 cm x 5 cm), then make the carvings, even with a kitchen knife:
__________________
First option: wooden frames and embroidery thread
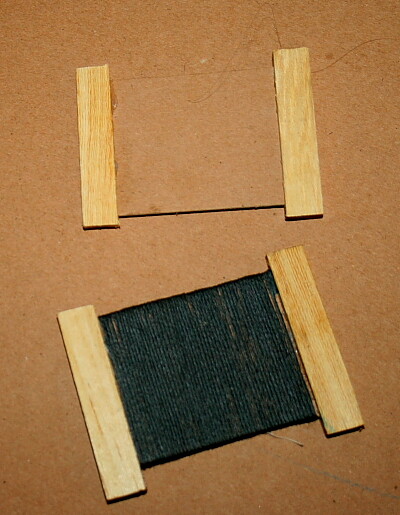
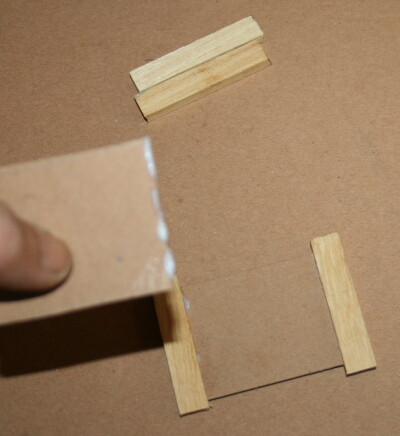
Glued the cardboard to the wooden frames, then simply coated card stock with the embroidery thread, which will stop with the glue at the beginning and at the end, and it is done:
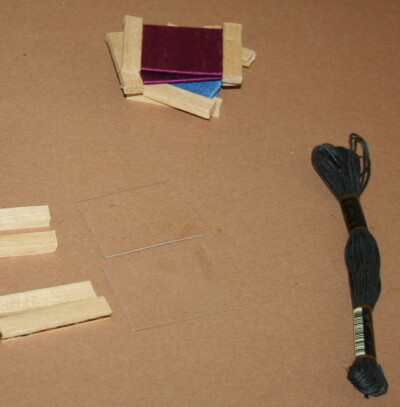
With this technique, not having a great assortment of embroidery thread, I made a small memory in 7 colors, that does not match a set Montessori in particular. 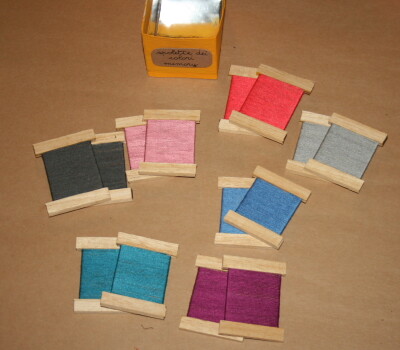
Second option: acrylic and wooden frames
First set
DIY Montessori Color Tablets
It is a box containing 6 tablets in the primary colors: red, yellow and blue
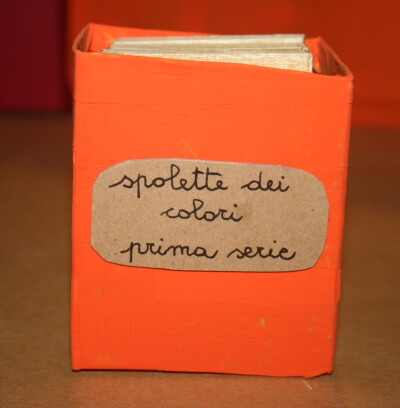
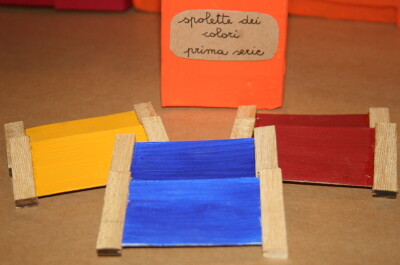
After you’ve colored the six cards, wait for the color to dry and then glue the wood frames …
_________________________
Third option: acrylic and frames made of polystyrene
Second set
DIY Montessori Color Tablets
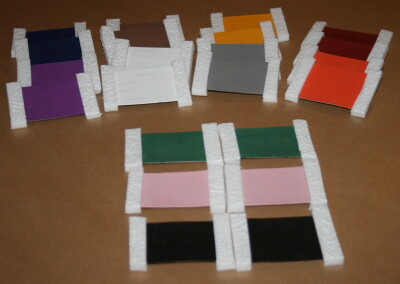
It is 22 tablets in all, consisting of 11 couples in the colors green, blue, purple, yellow, orange, pink, red, brown, black, gray and white
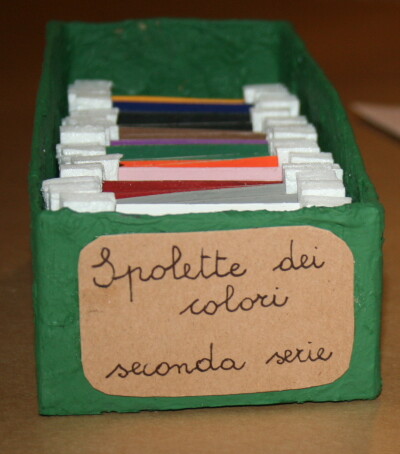
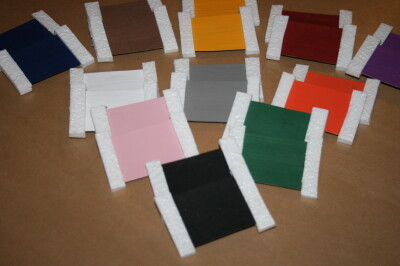
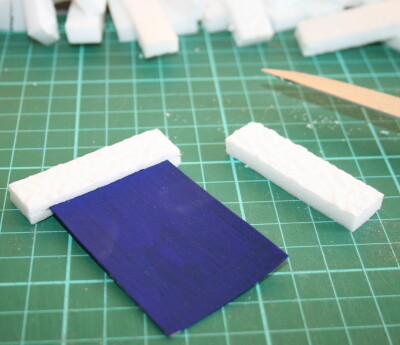
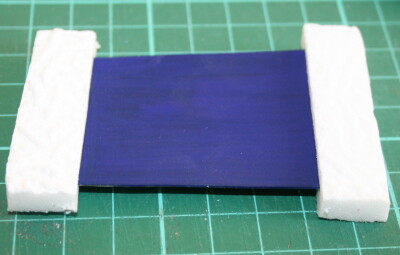
After you have colored the twenty-two cards, wait for the color to dry and then glue the frames of polystyrene. If needed, you can then trim with cutter:
________________________
Third set
DIY Montessori Color Tablets
and original Montessori boxes
The third set is formed by 63 tablets in 7 shades for each color; colors are red, yellow, blue, green, orange, purple, brown, pink and gray.
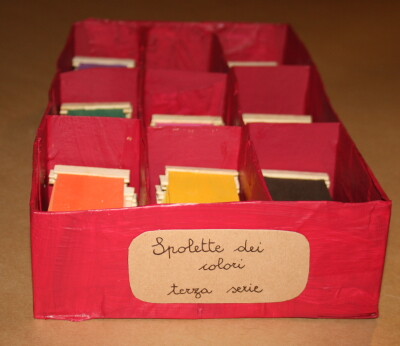
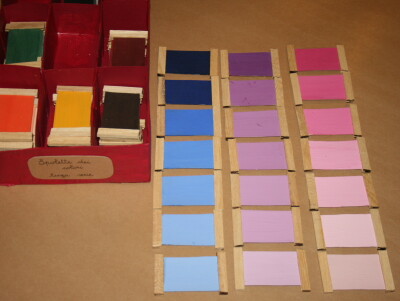
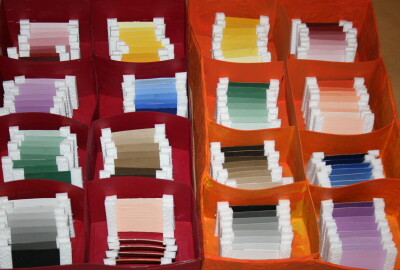
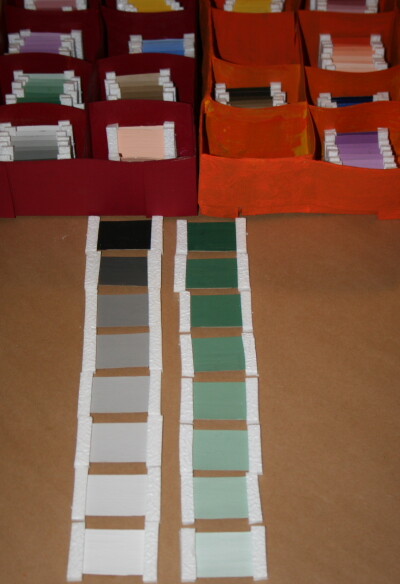
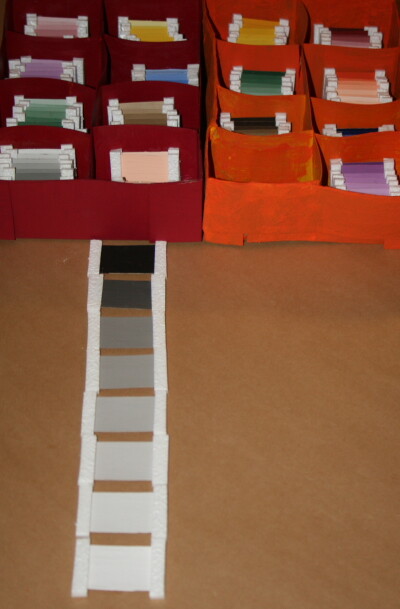
Maria Montessori speaks of two identical boxes, each containing 64 colors, that is, 8 different colors, each of which has 8 tones carefully graduated from darker to lighter.
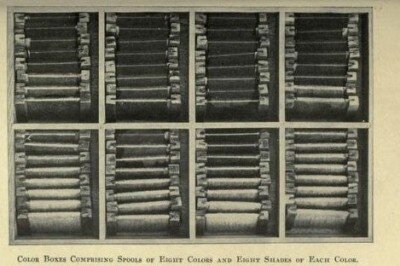
To achieve these materials, regardless of the type of frame chosen, you must first cut rectangles of cardboard: 63 for the first set and 128 for the Montessori boxes…
The “secret” to get the right gradation of tones, is very simple: start from the darker tone, pouring in a plate color in abundance. Paint the rectangles that need paint, then established an equal dose of white to add more at each step (a spoon, a stick, a syringe, etc …) and you will get the other tones.
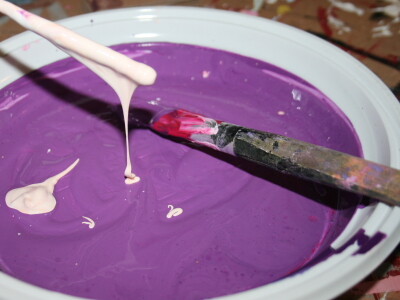
Trust in this method rather than in your eyes, because the wet color can be very different from the dry …
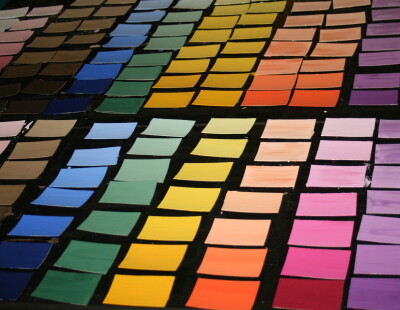
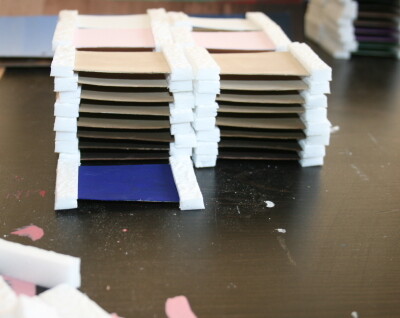
When the paint is dry, proceed to the assembly of the external frames. For all sets it is necessary to provide also to the construction of boxes, which possibly are also divided into compartments.
Check that the boxes allow you to extract the tablets always taking them from the frame, and not from the colored part.


